Create the item and the custom item
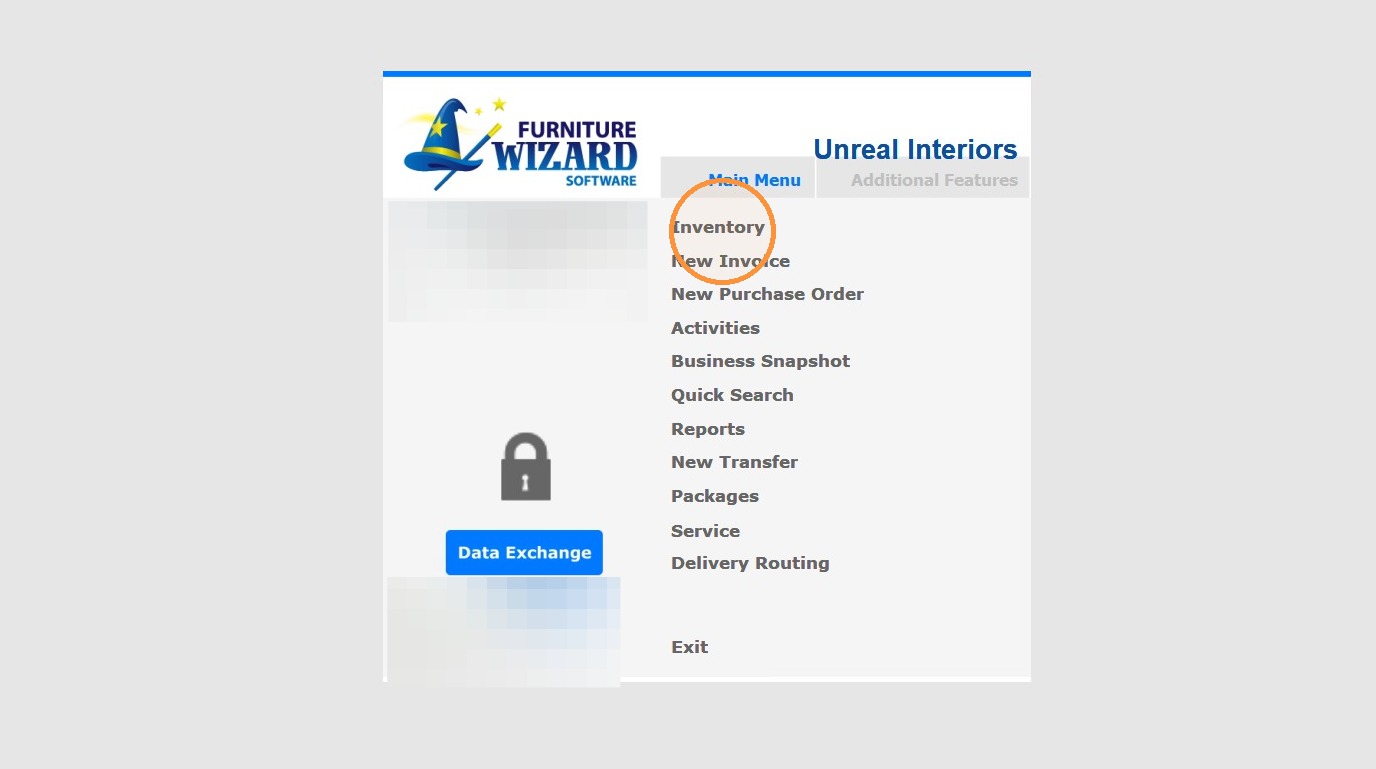
1. Click "Inventory"
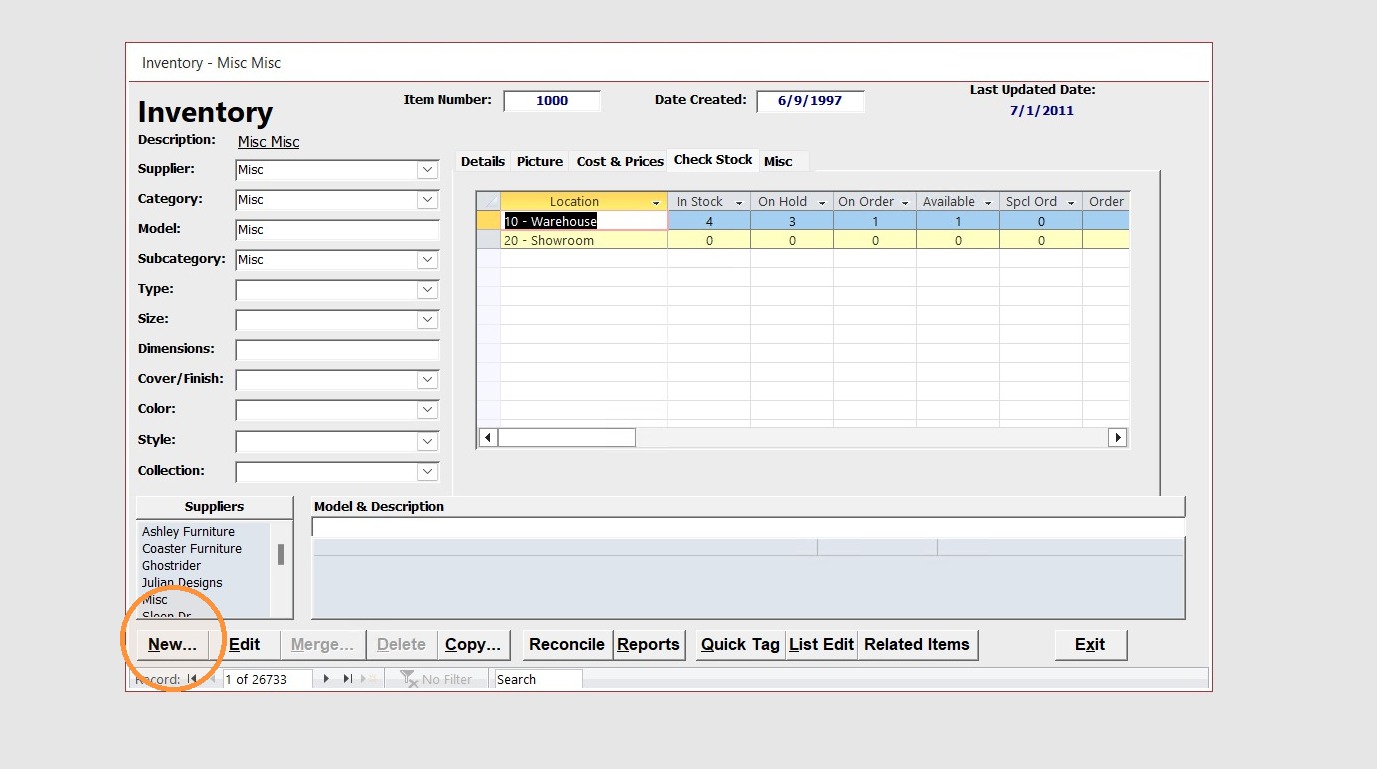
2. Click "New..."
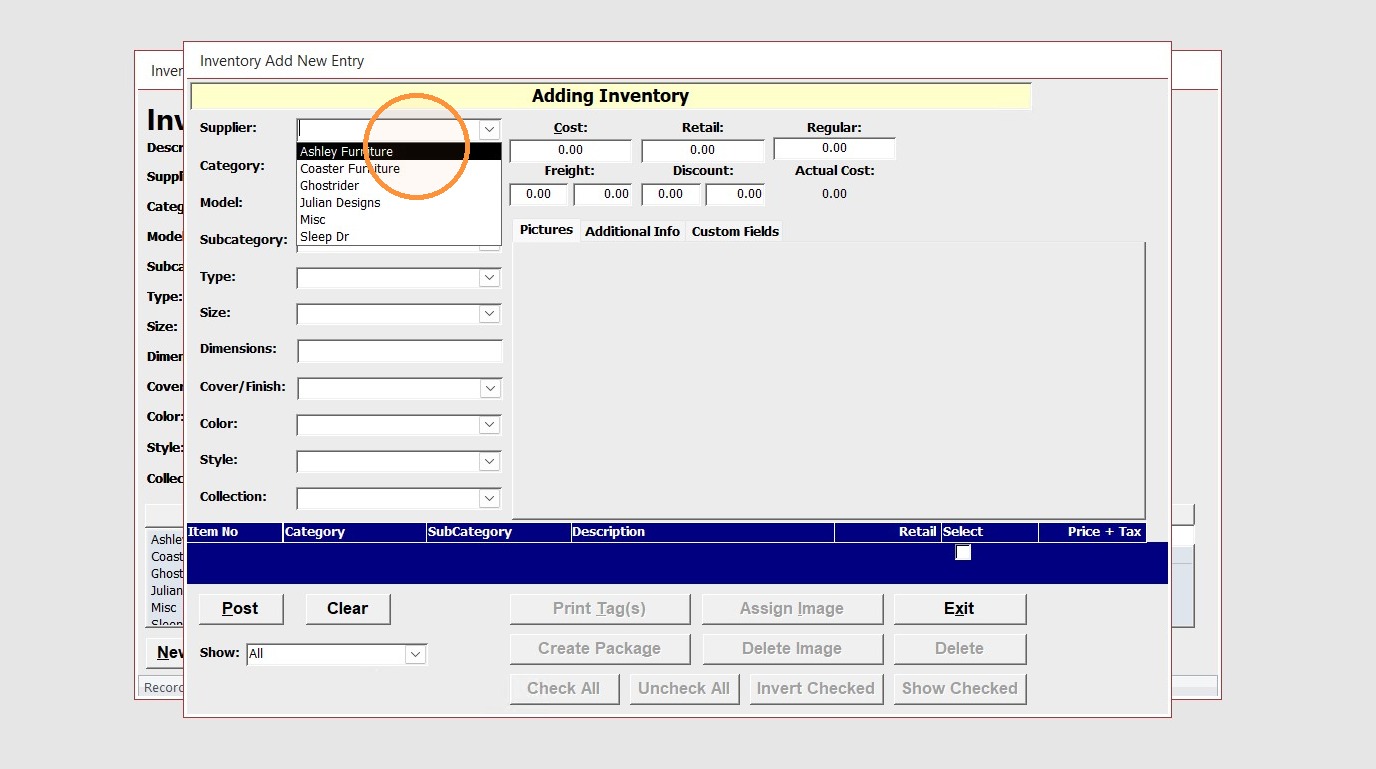
3. Select the Supplier from the drop down
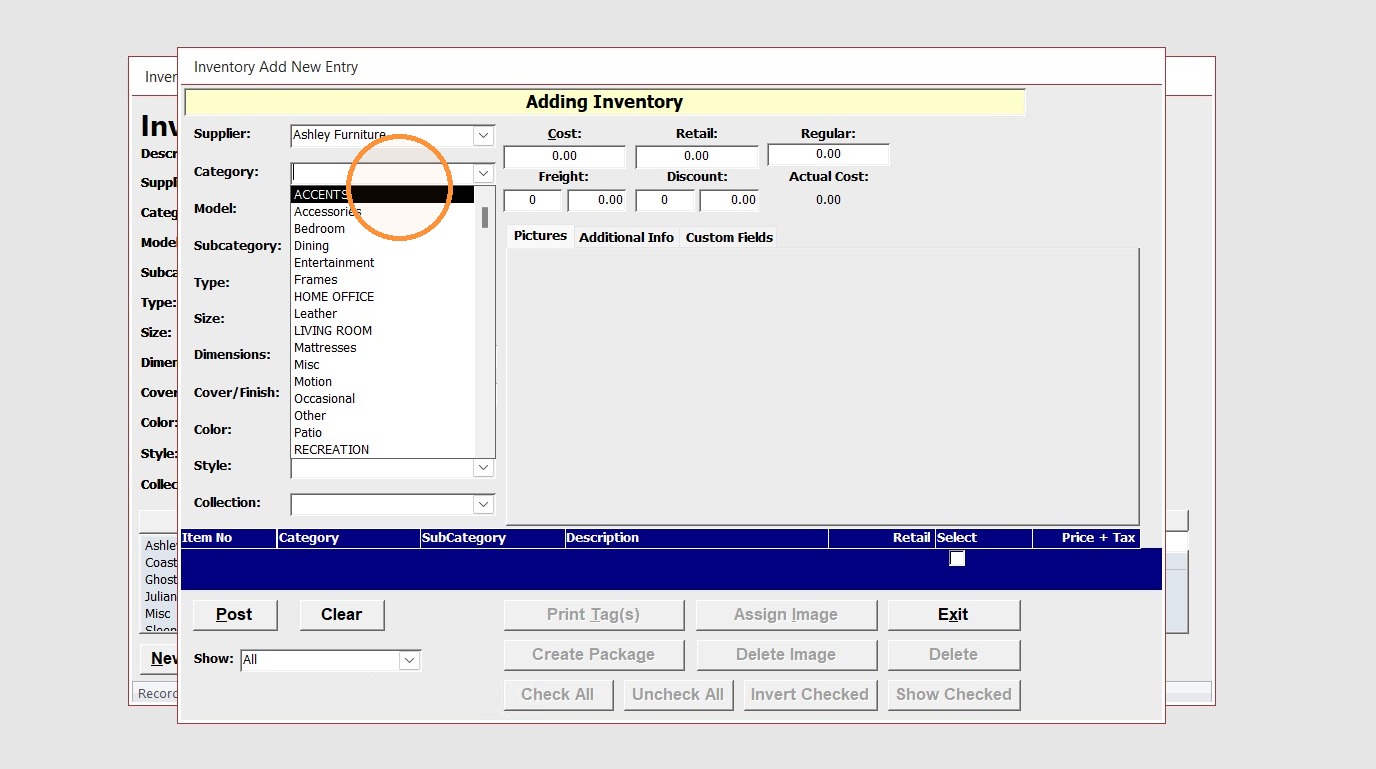
4. Select the Category from the drop down
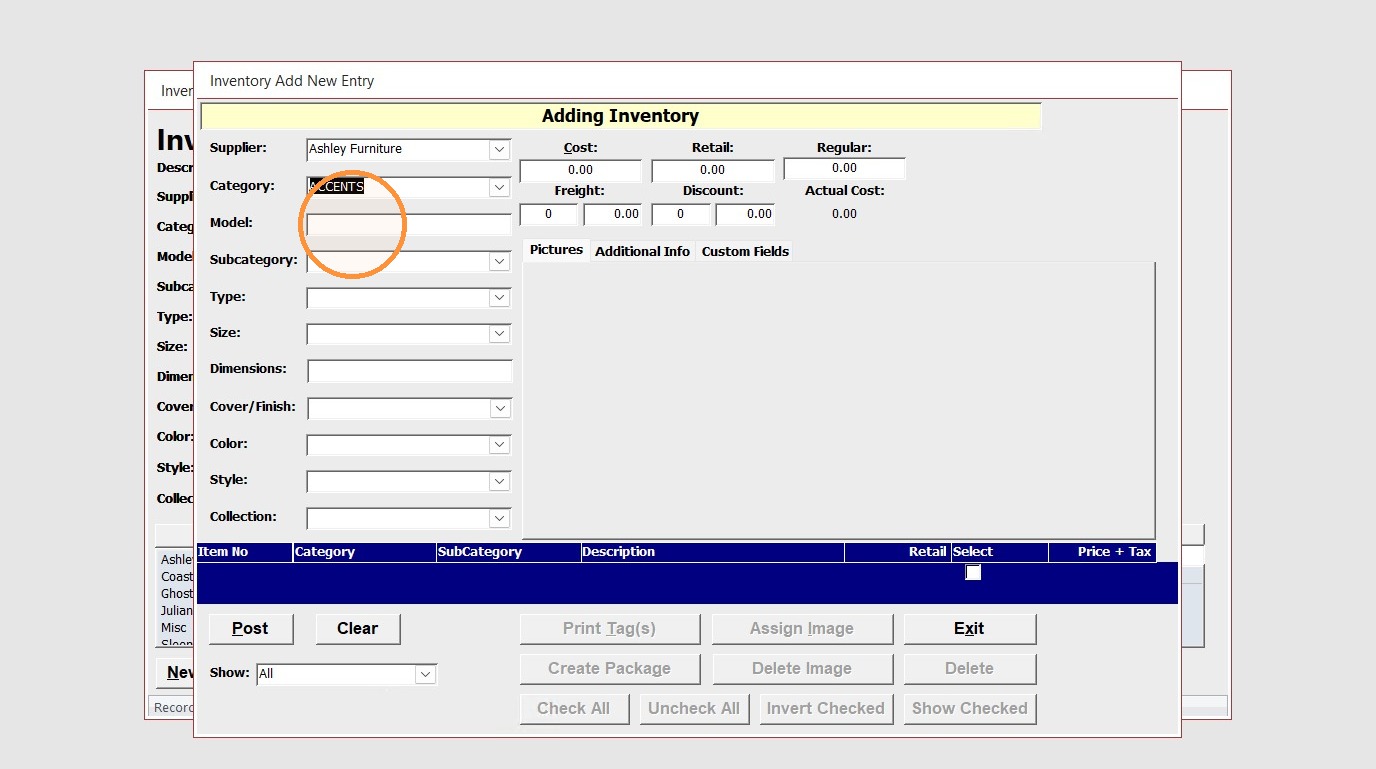
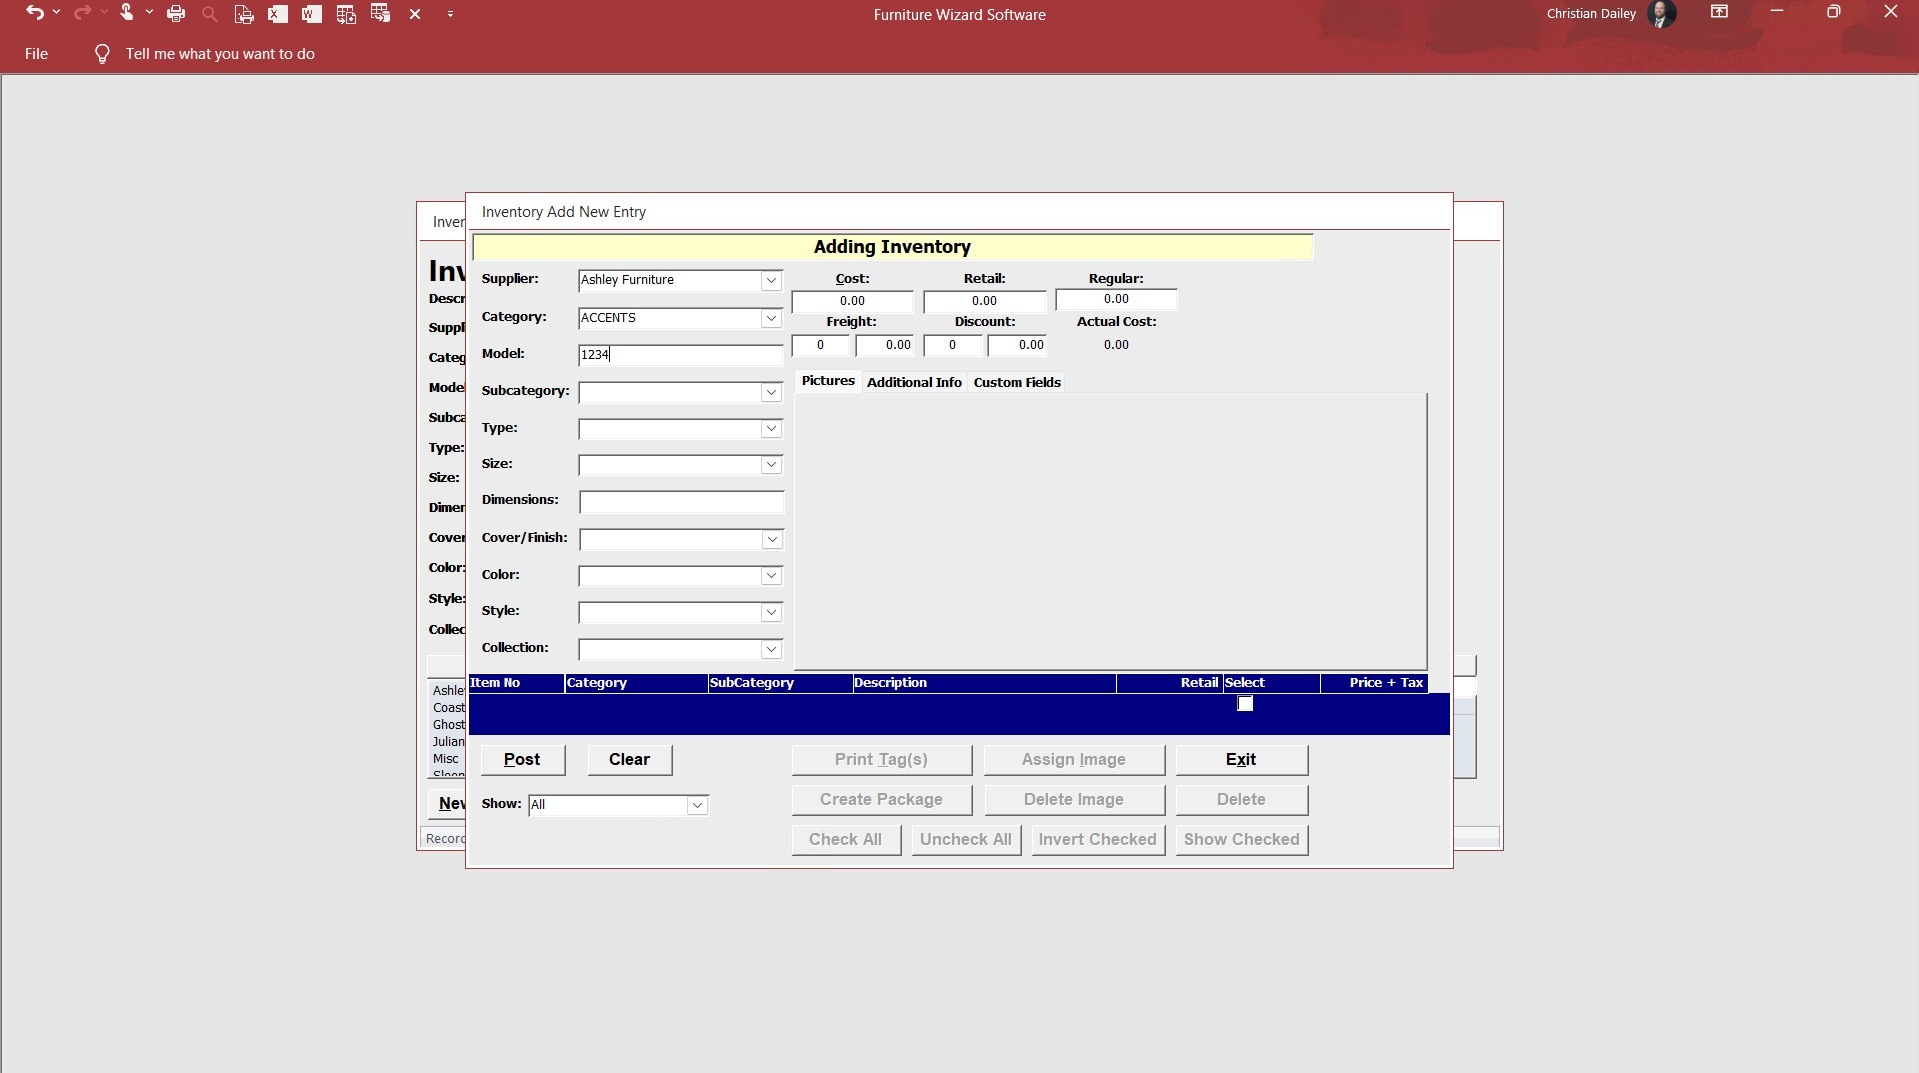
5. Enter in the Model number of the base item
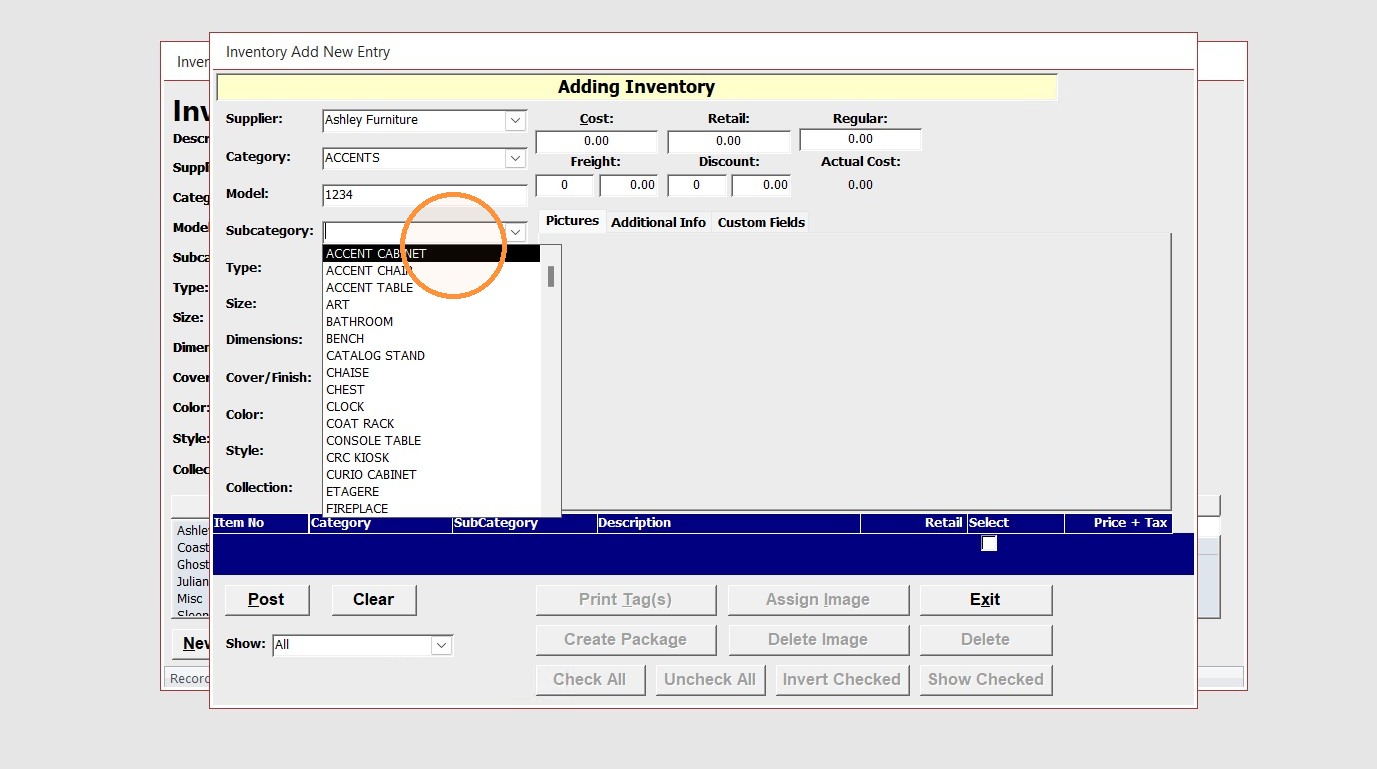
6. Select the Subcategory from the drop down
7. Enter or select the color from the drop down
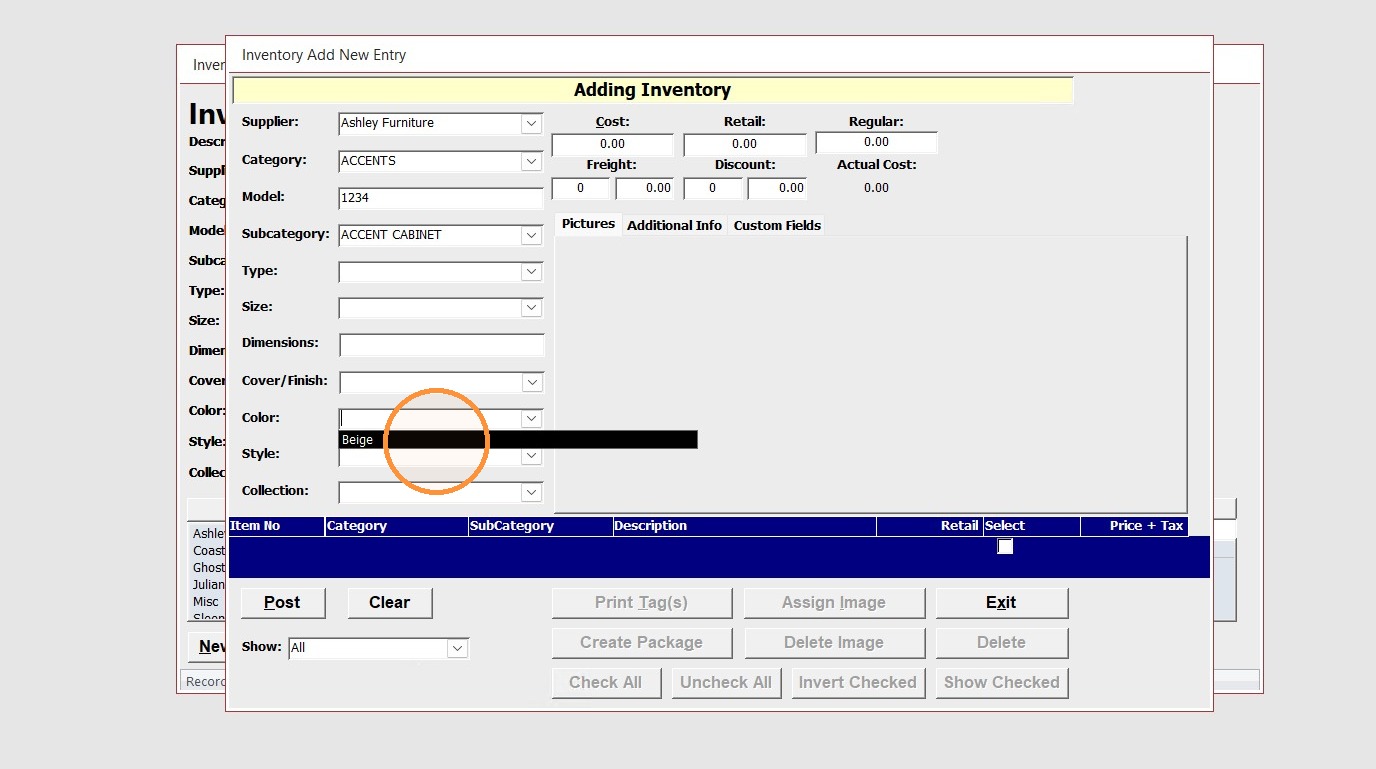
8. Select the style from the drop down
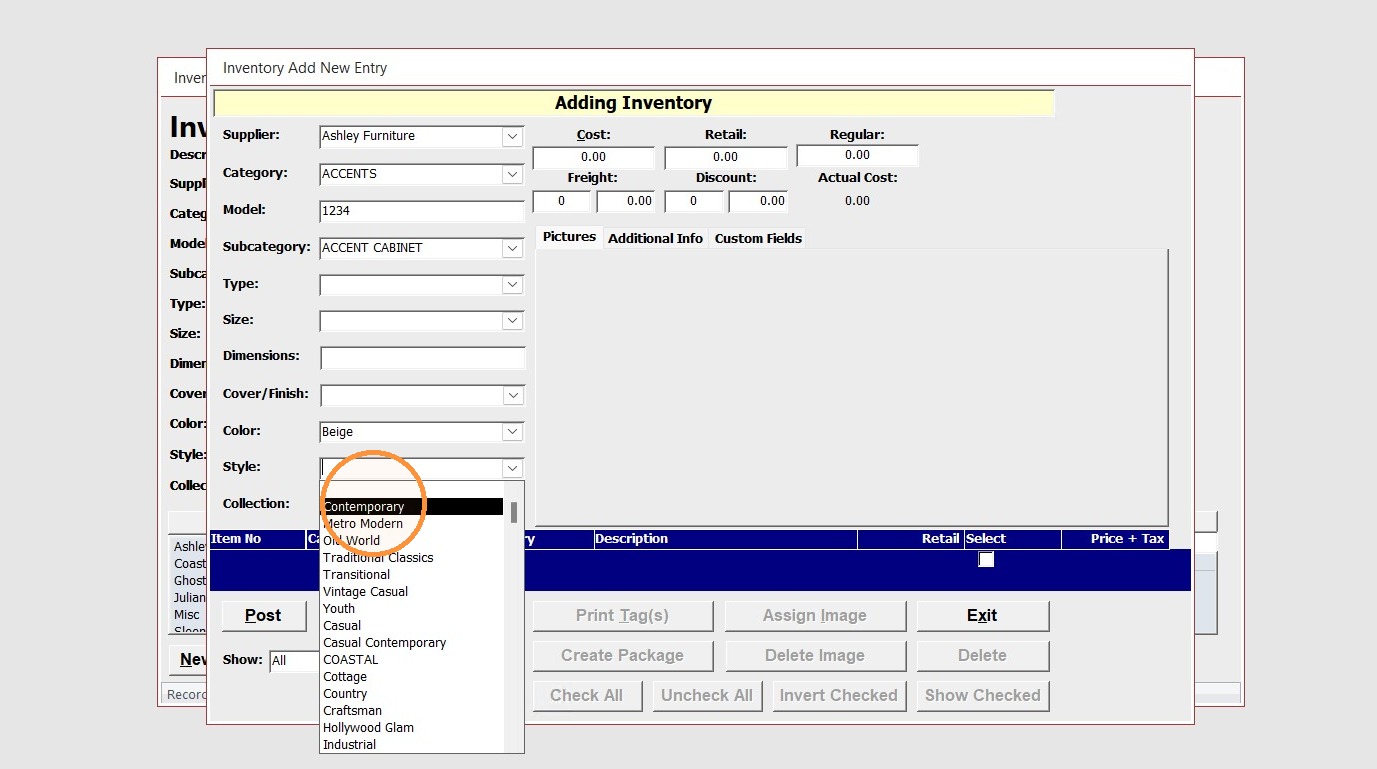
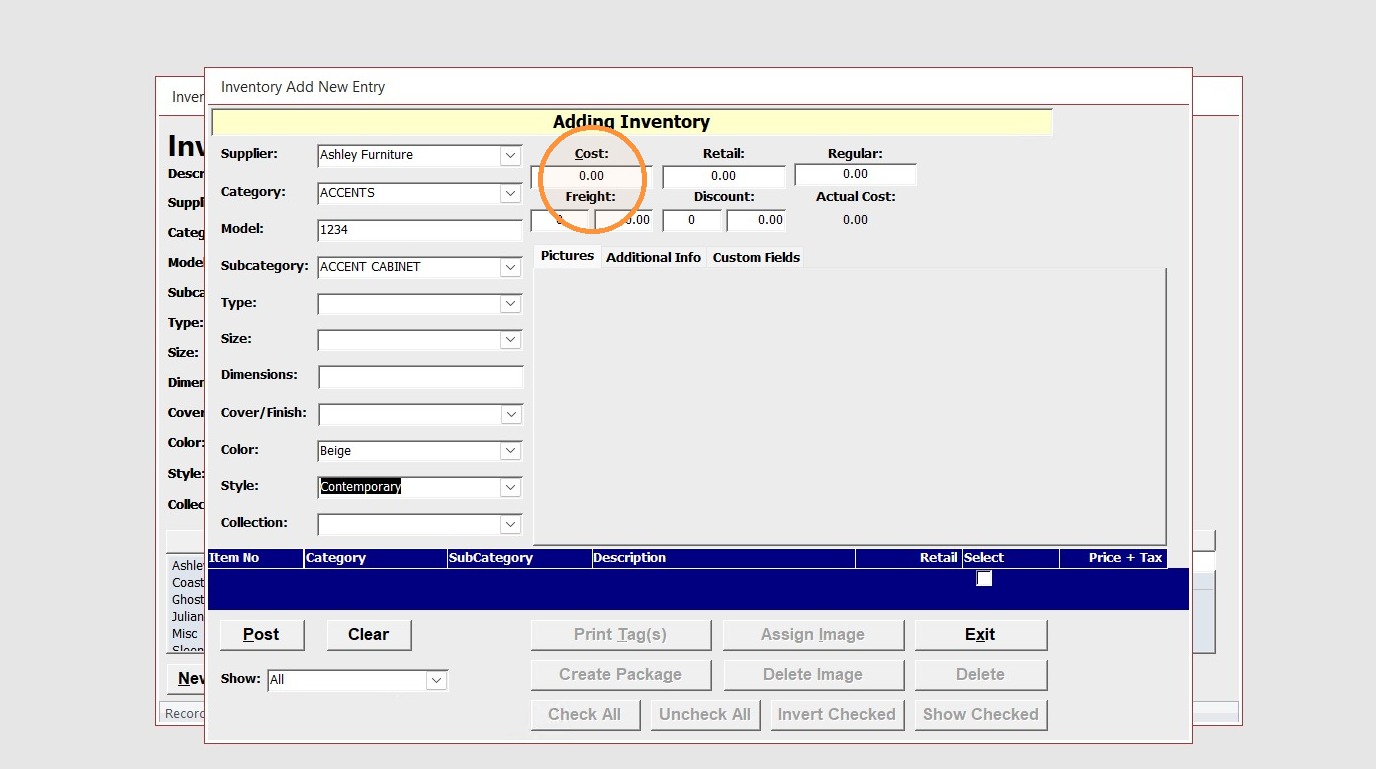
9. Enter in the Cost of the item
10. Click "Post"
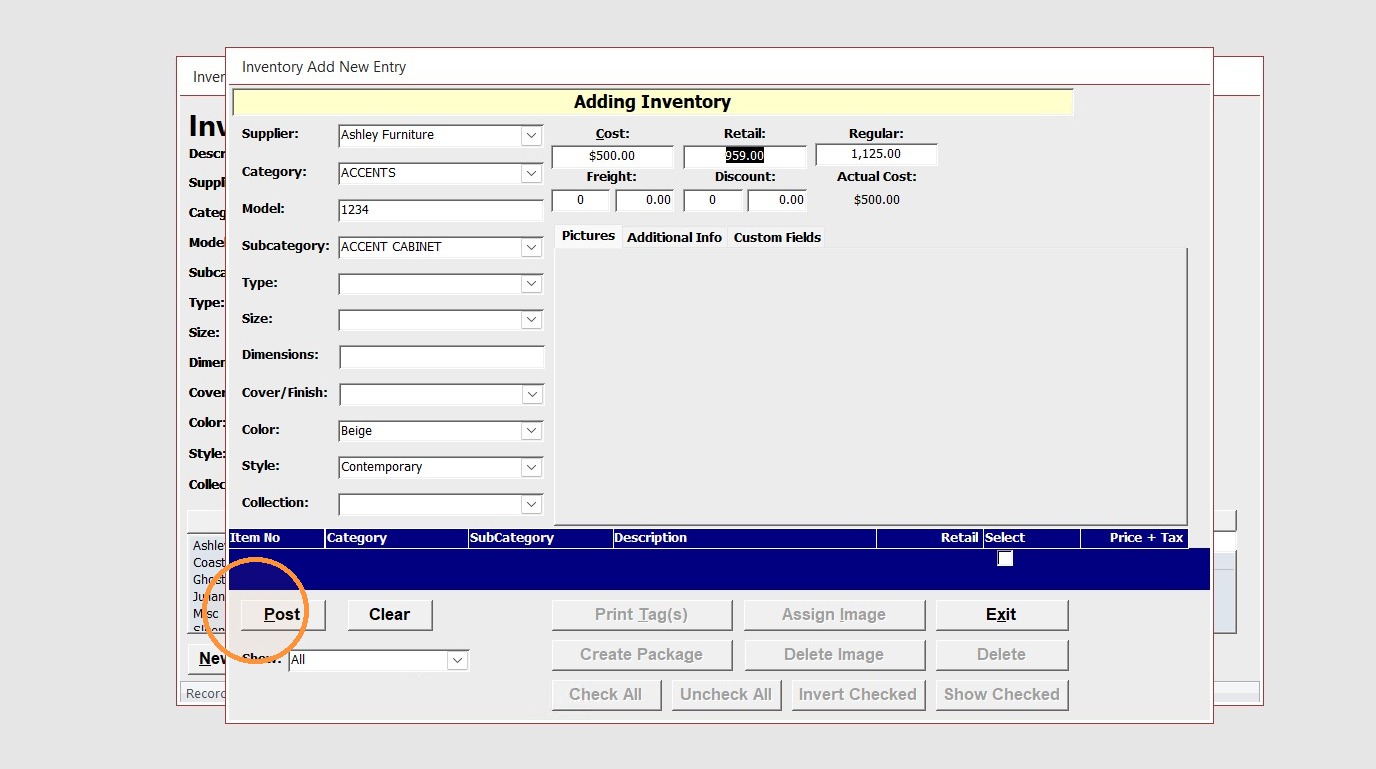
Alert: The main item is now created
Create the custom item
11. Update the Model name typically -Custom
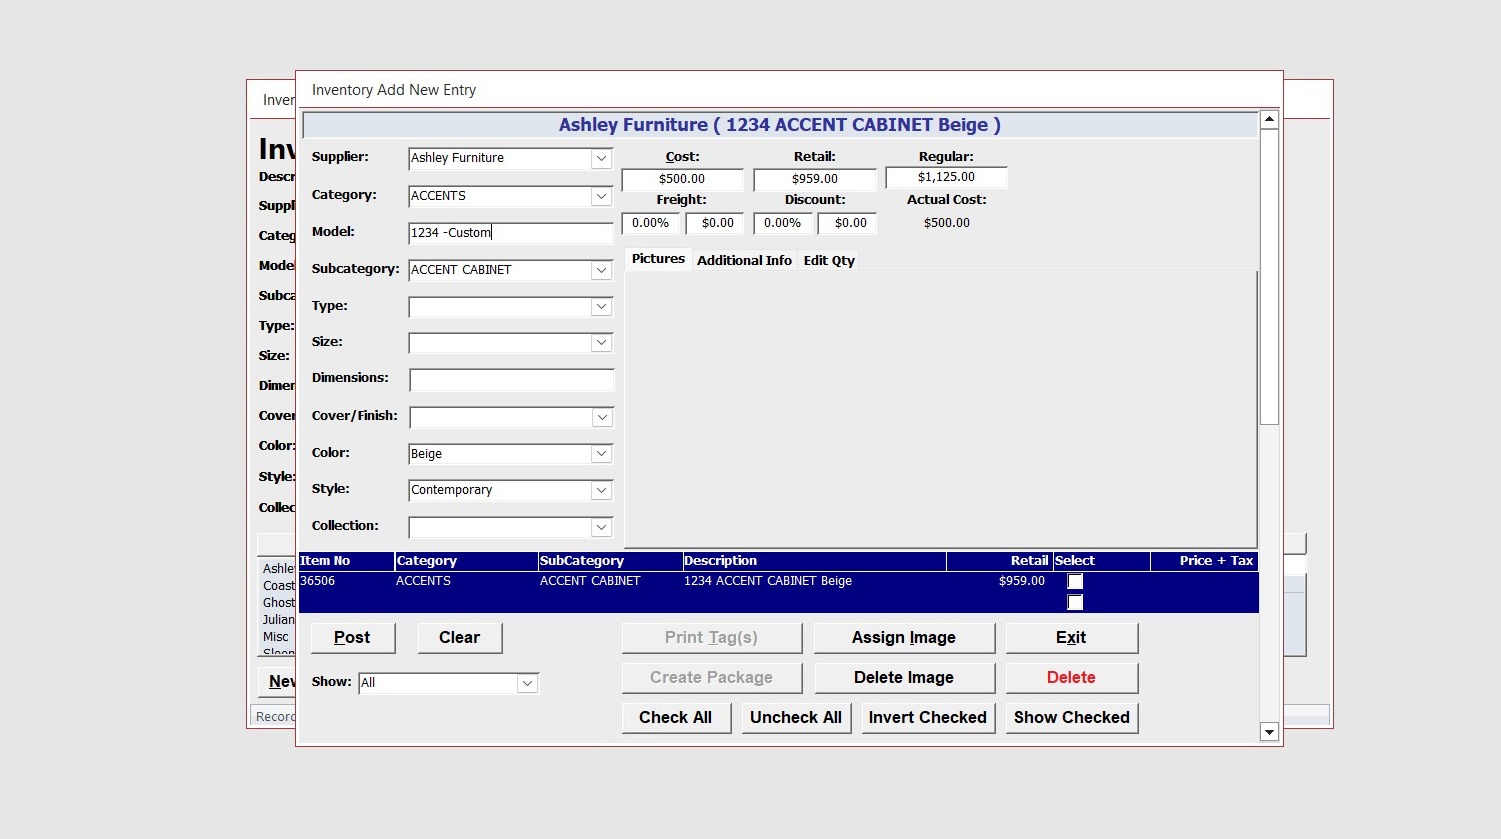
Tip: You do not have to use -Custom this is up to you
12. Remove the color
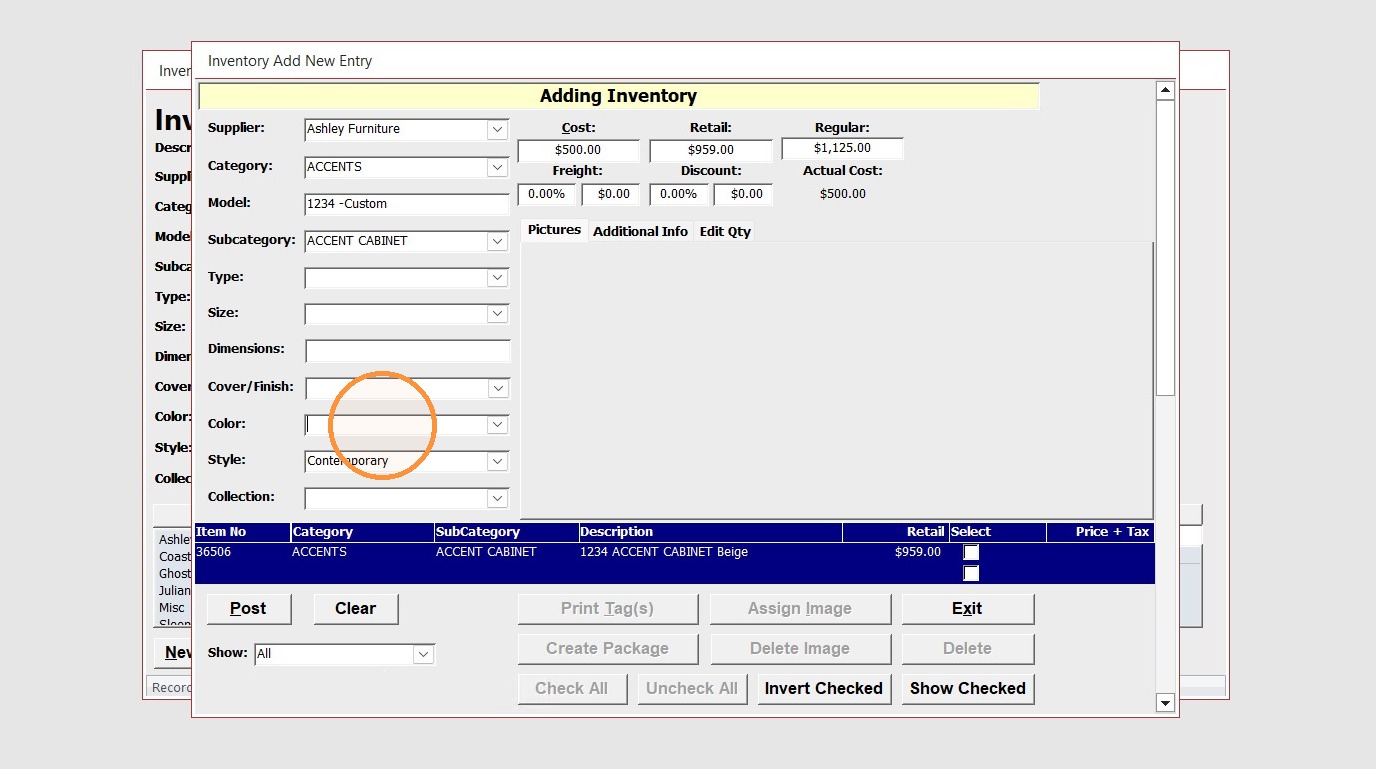
13. Change the Cost to $0
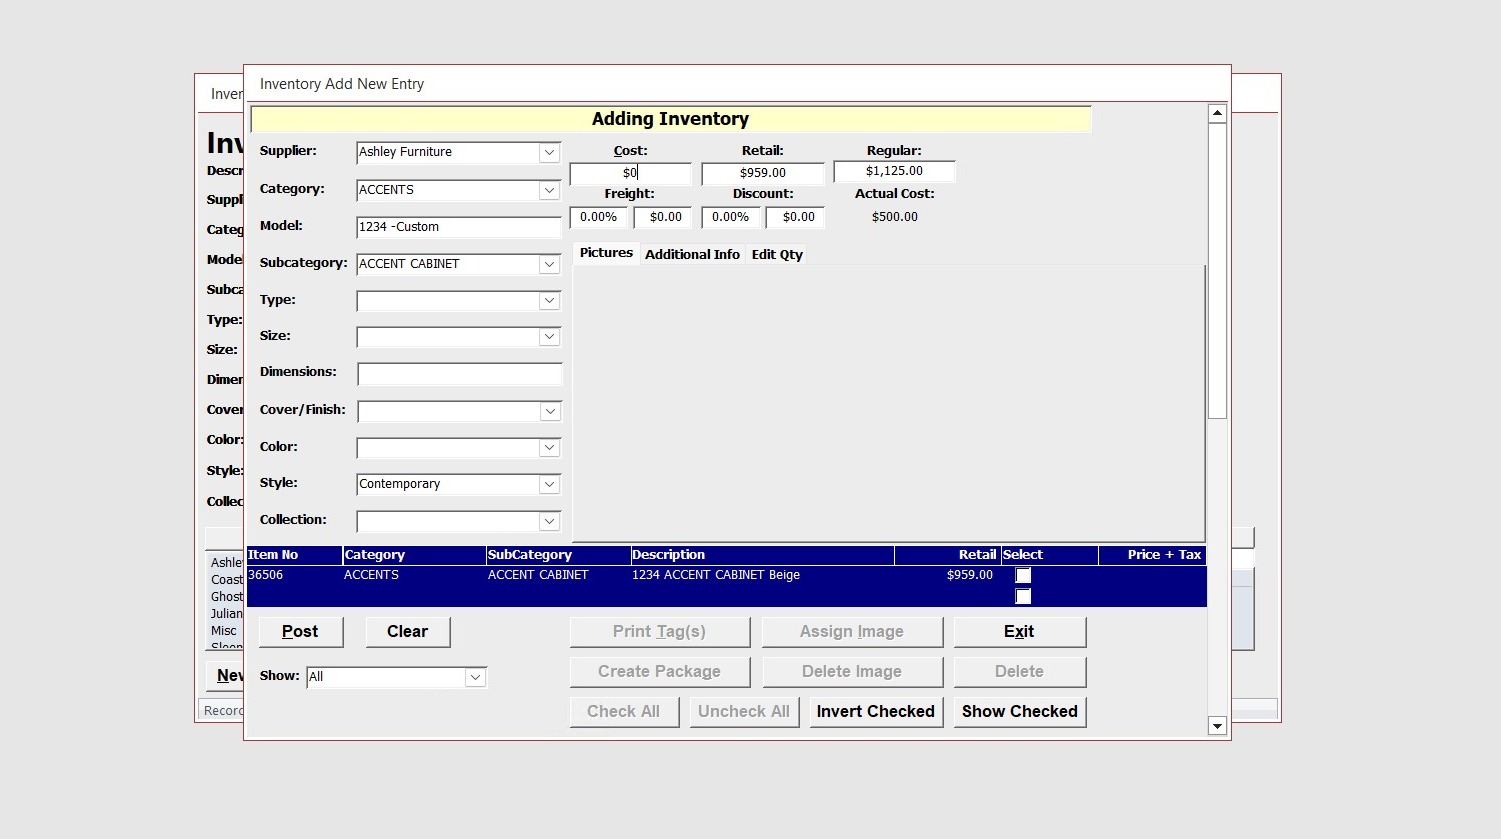
14. Click "Post" to save the changes the click Exit
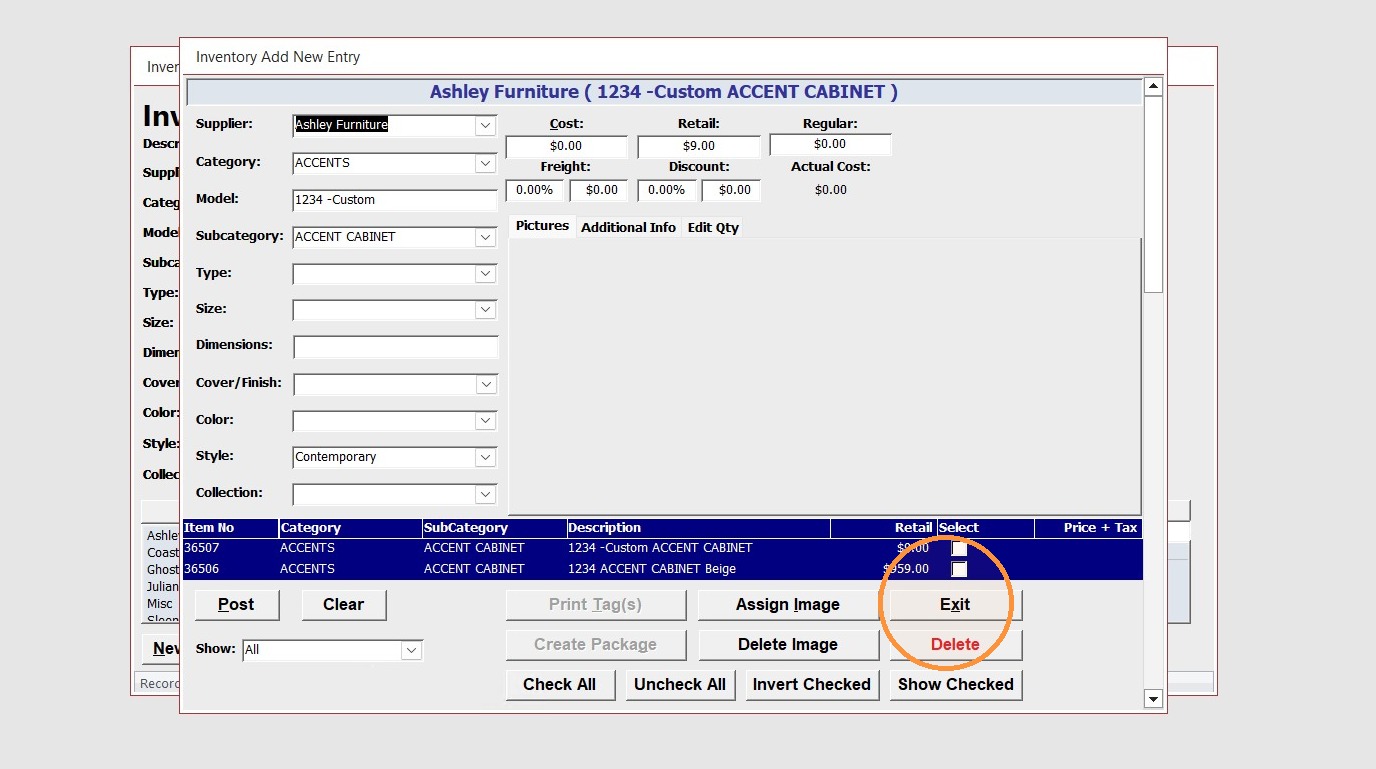
Add the customization options to the cutsom item
15. From the inventory screen you should be on the newly created custom item.
Select Edit
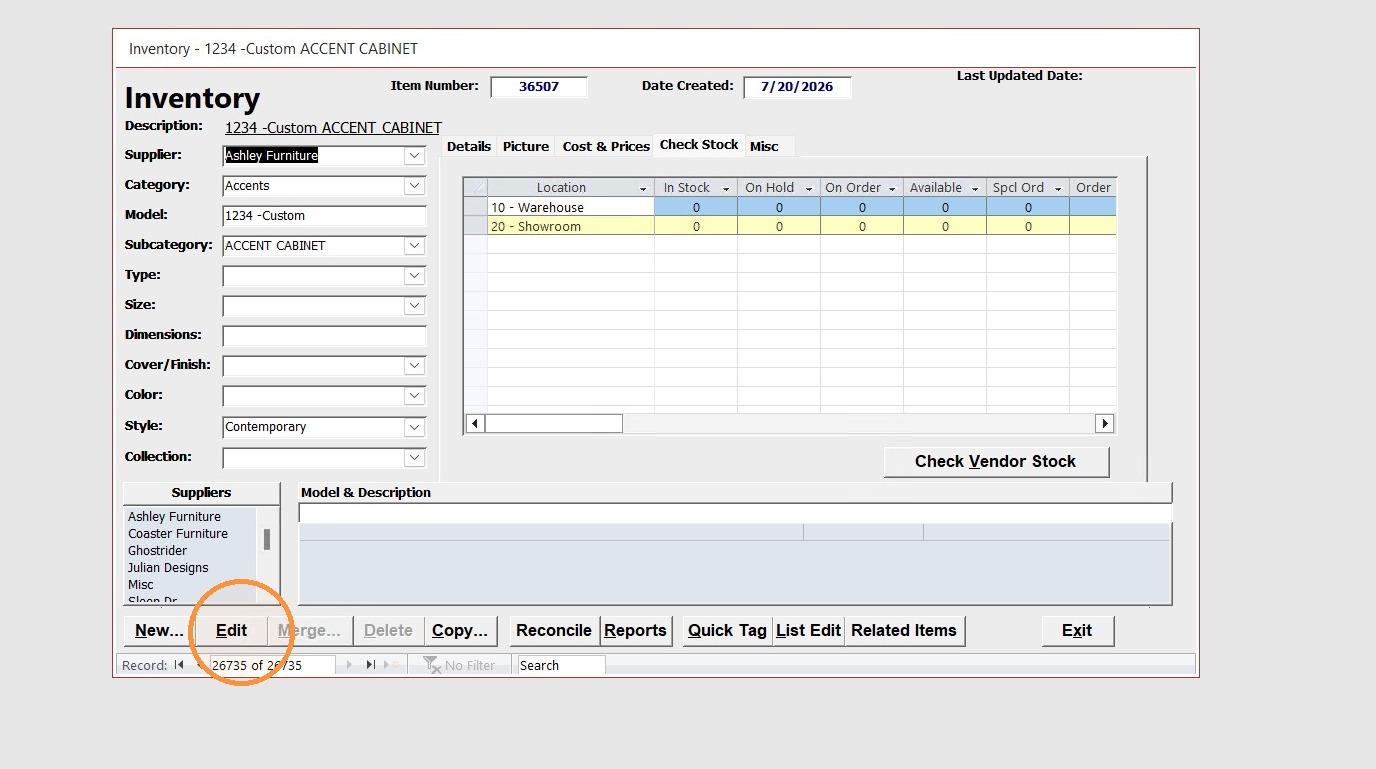
Item Customization and Notes
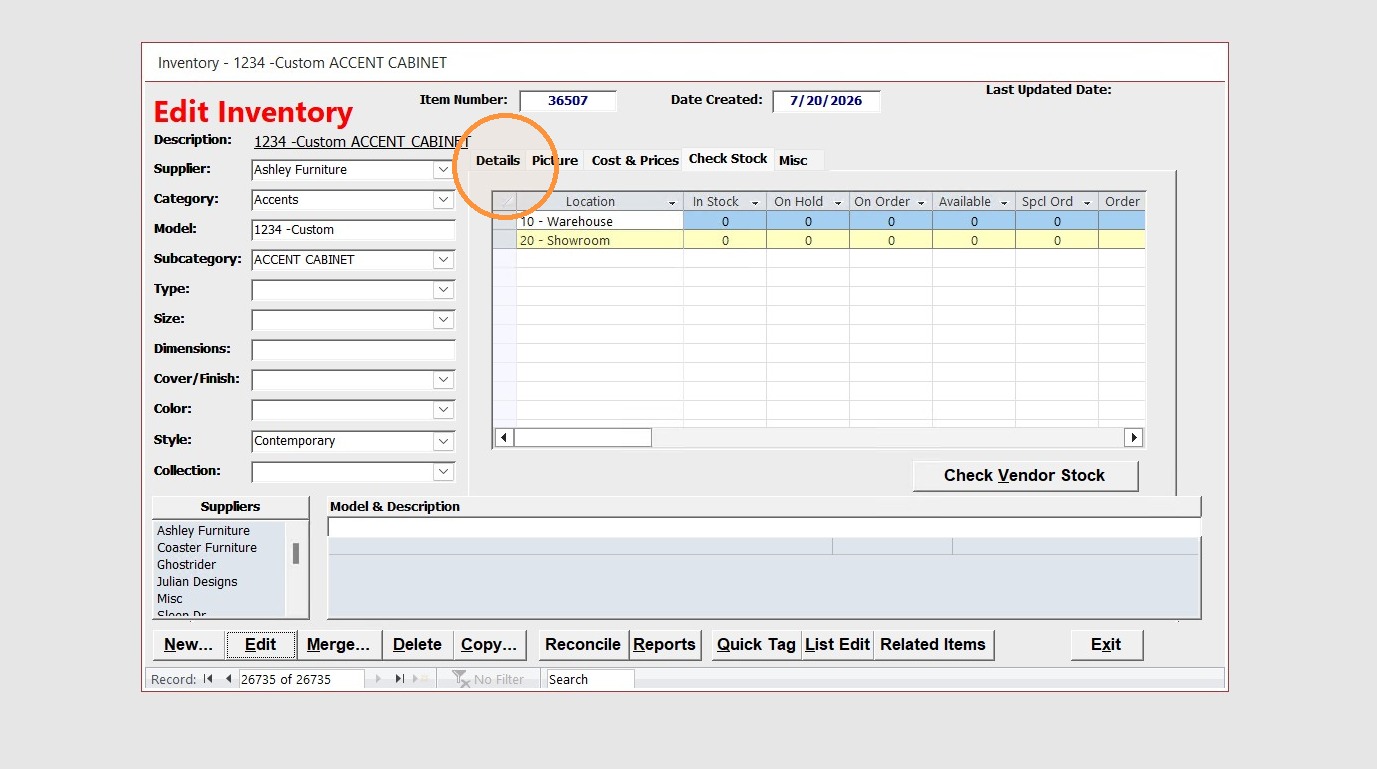
16. Click details
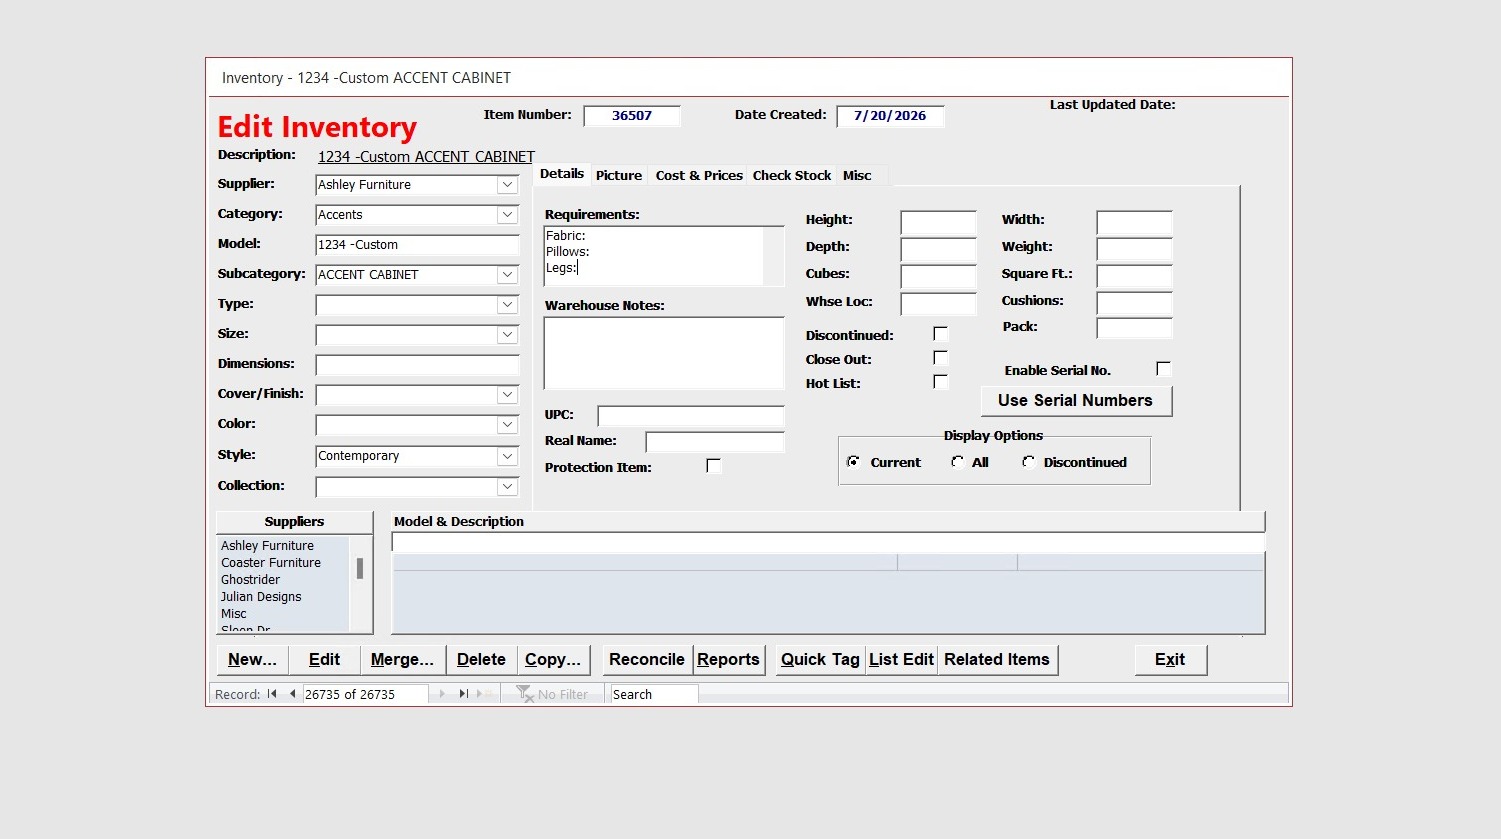
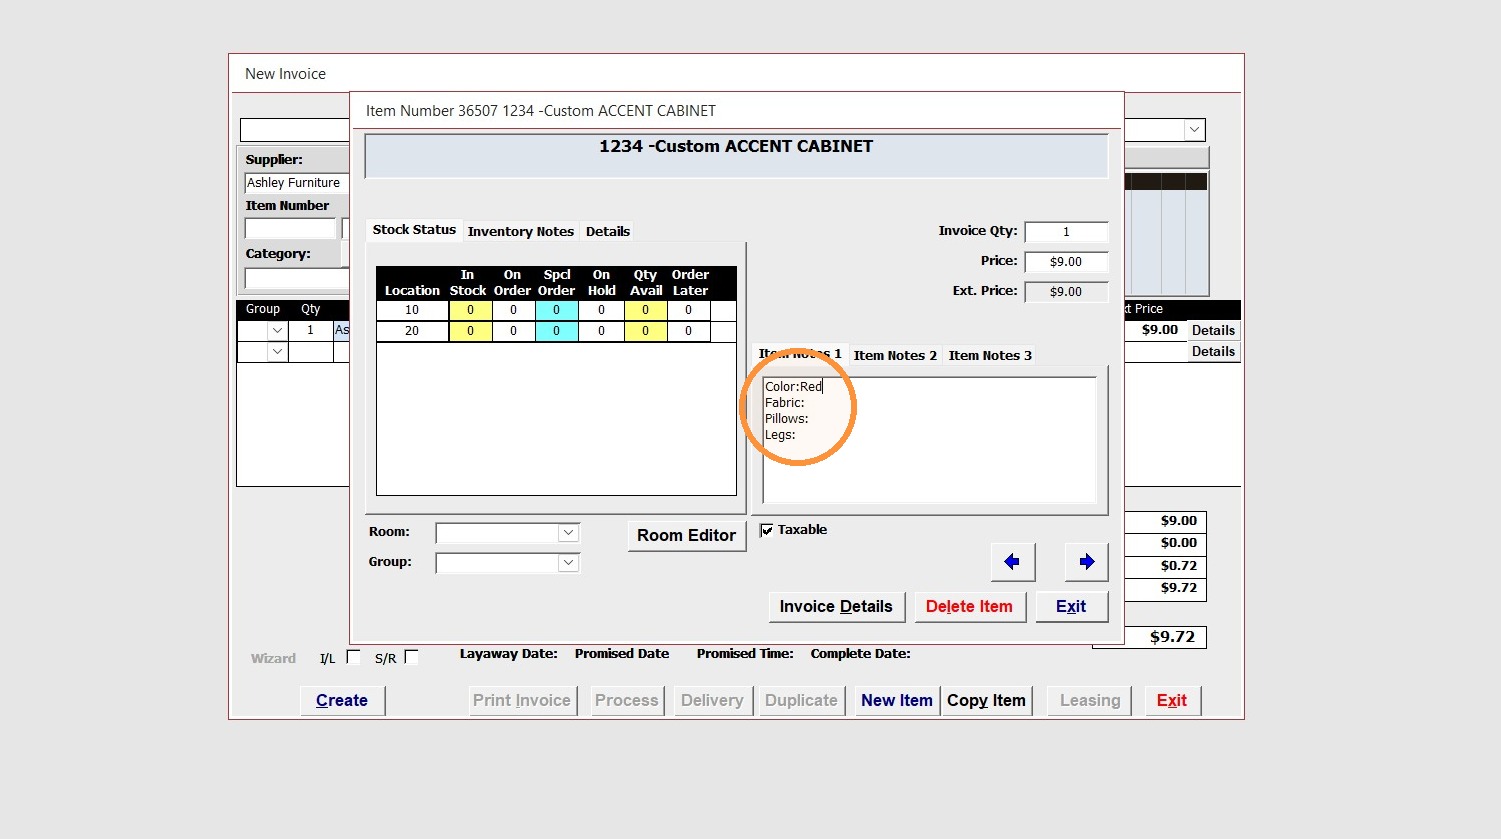
17. Enter in the custom settings into the Requirements field such as
"Color:", "Fabric:", "Pillows:", and "Legs:"
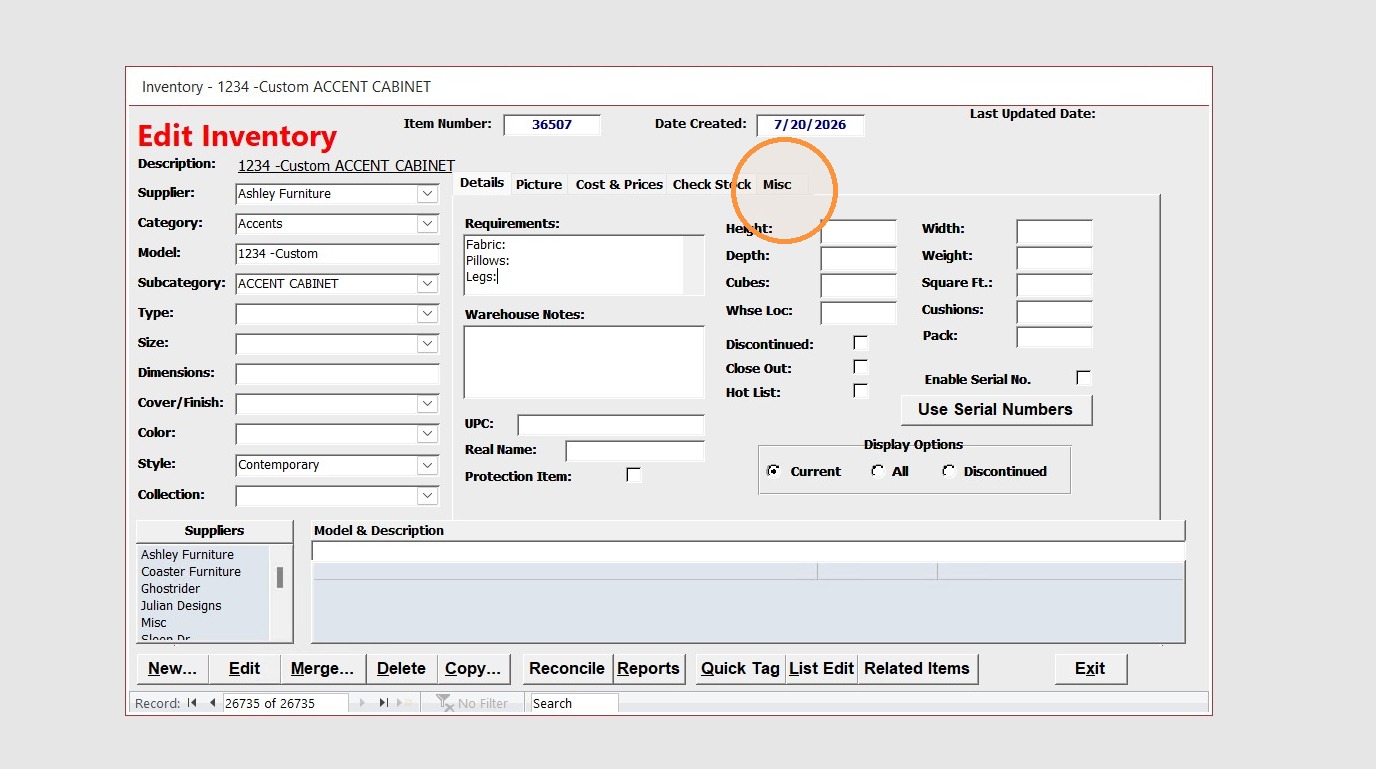
18. Click the Misc. tab
19. Check "Alert when sold"
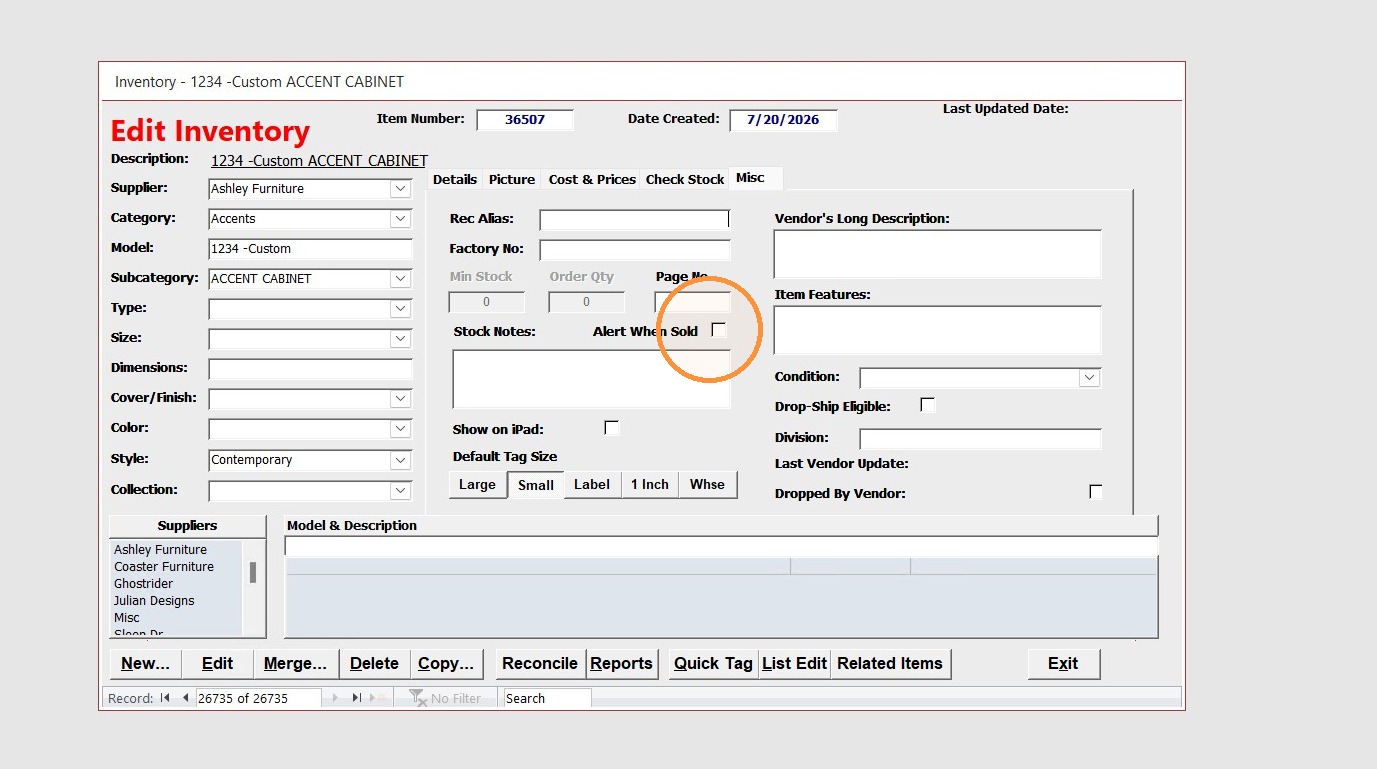
20. Type "Enter in details" in the stock notes
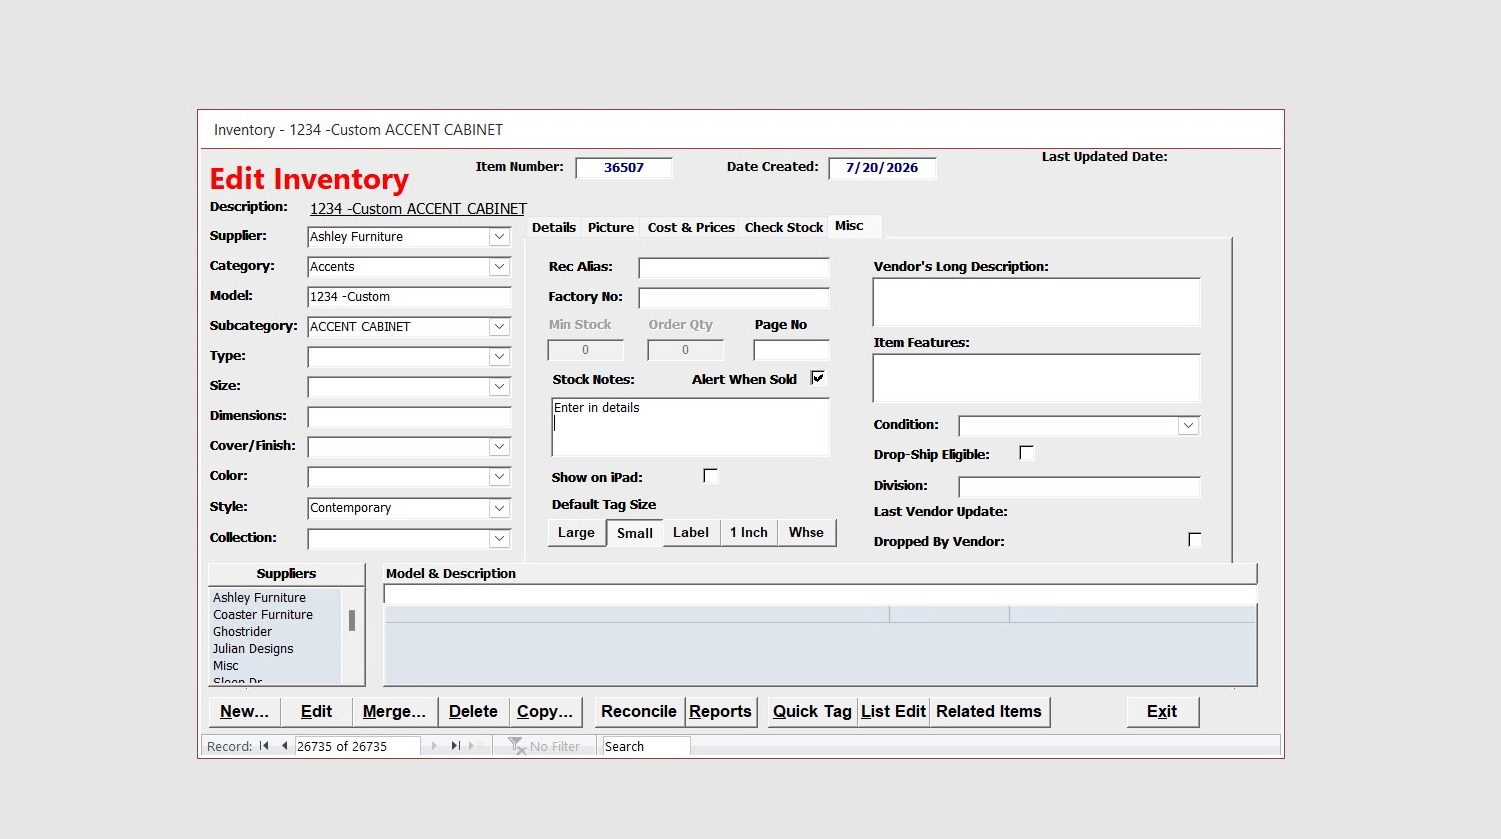
Alert: The stock notes are what the sales person will see when the item is selected
21. Click "Exit"
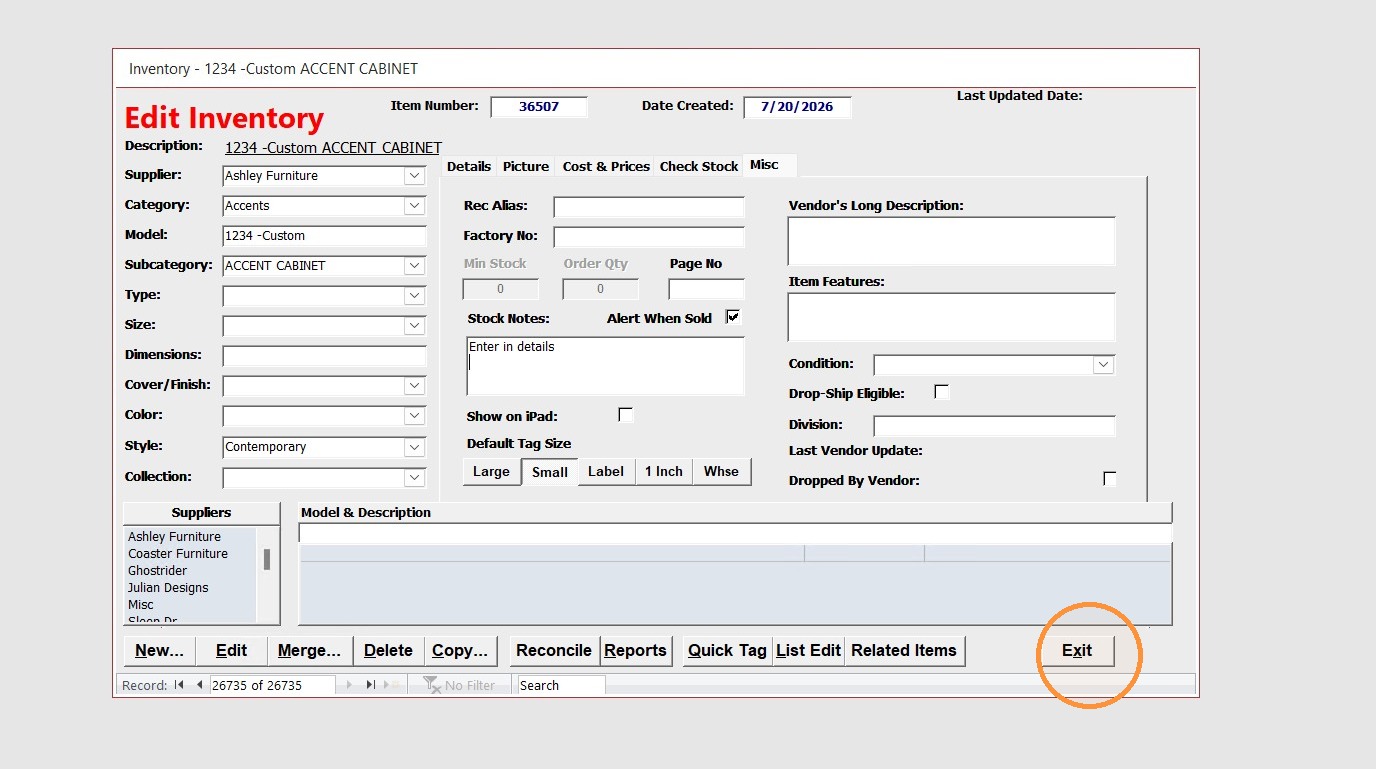
Alert: The custom item is created and ready to be used
Test the item on an invoice
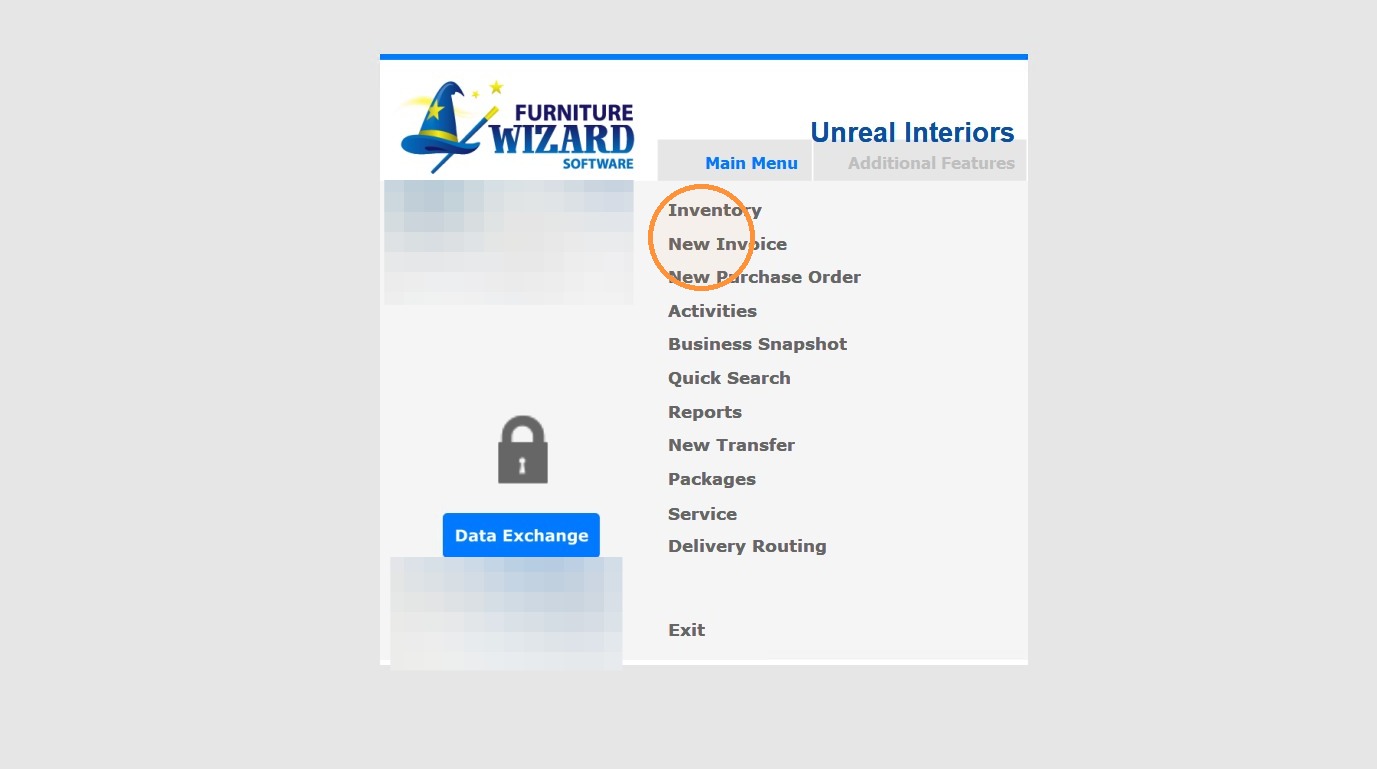
22. Click "New Invoice"
23. Select the Supplier dropdown on the invoice
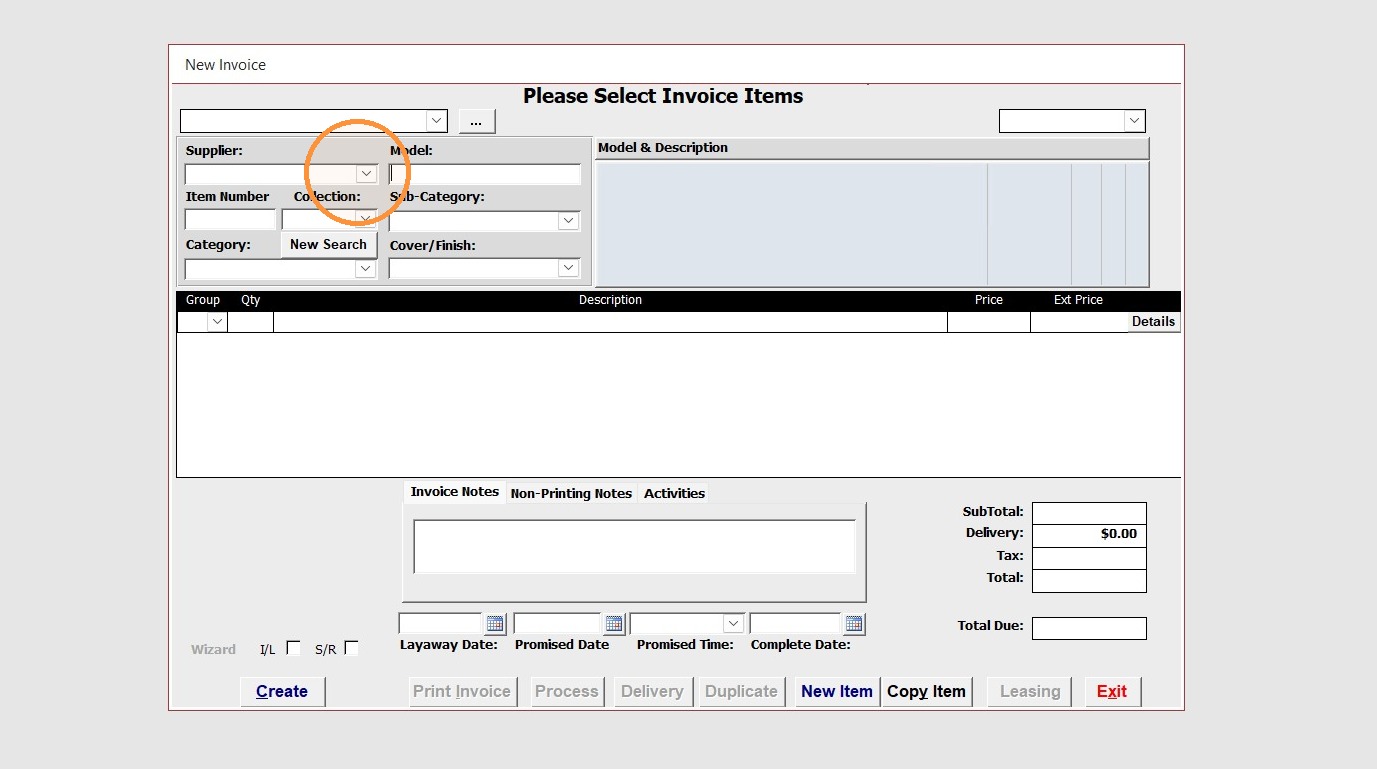
24. Search for and select model that you created
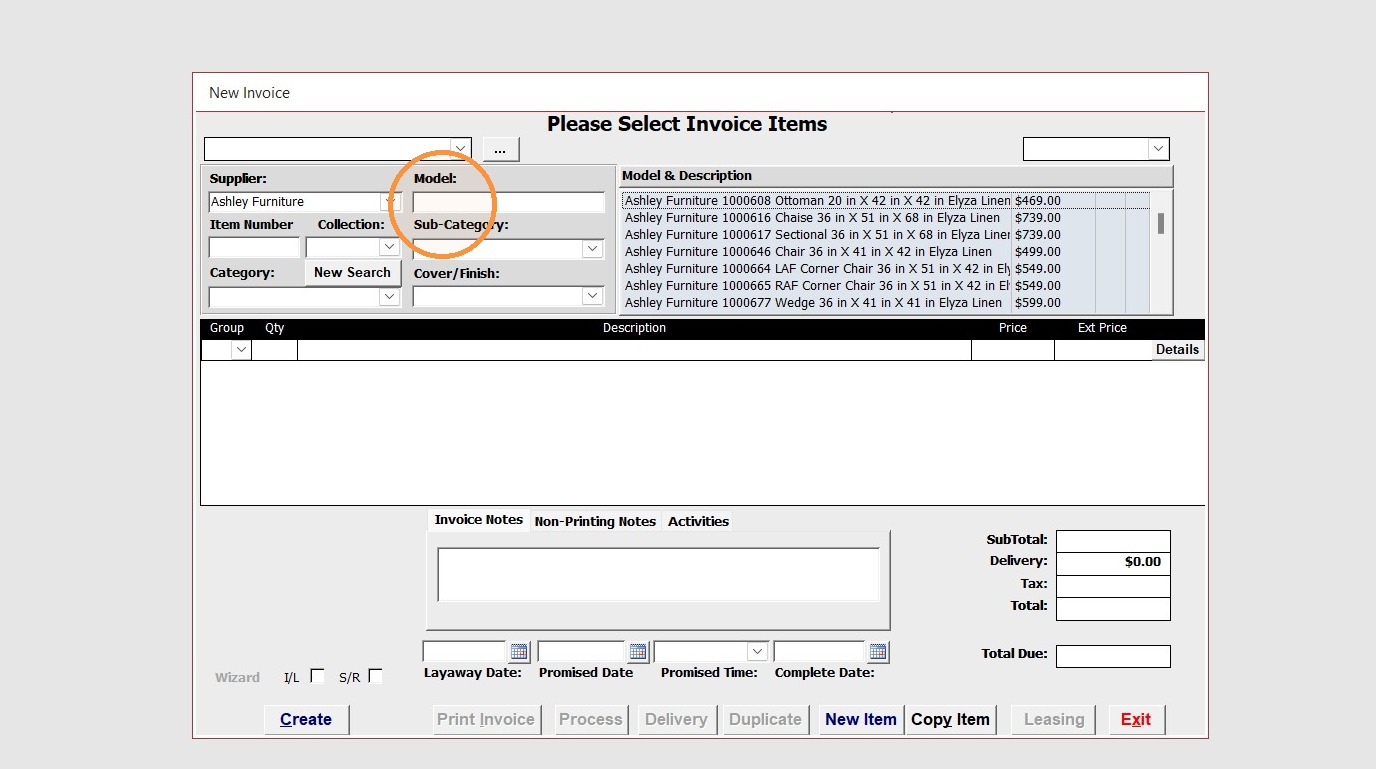
25. Double-click to add the item to the invoice
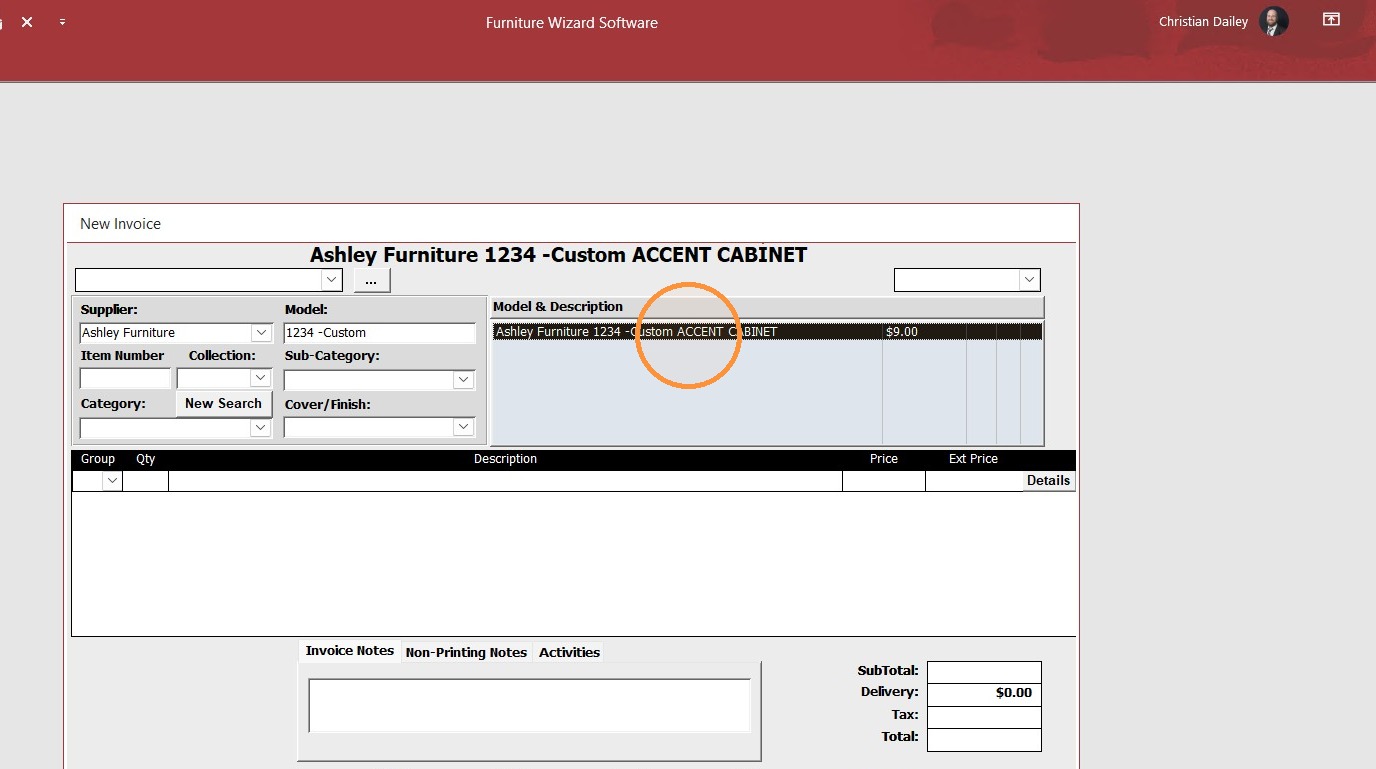
26. This is the Alert the sales team will see from the Misc tab setup earlier
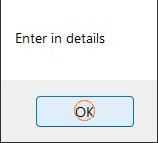
Alert: This is the message the Salesperson will see from step 20
27. Click the item to update the deatils
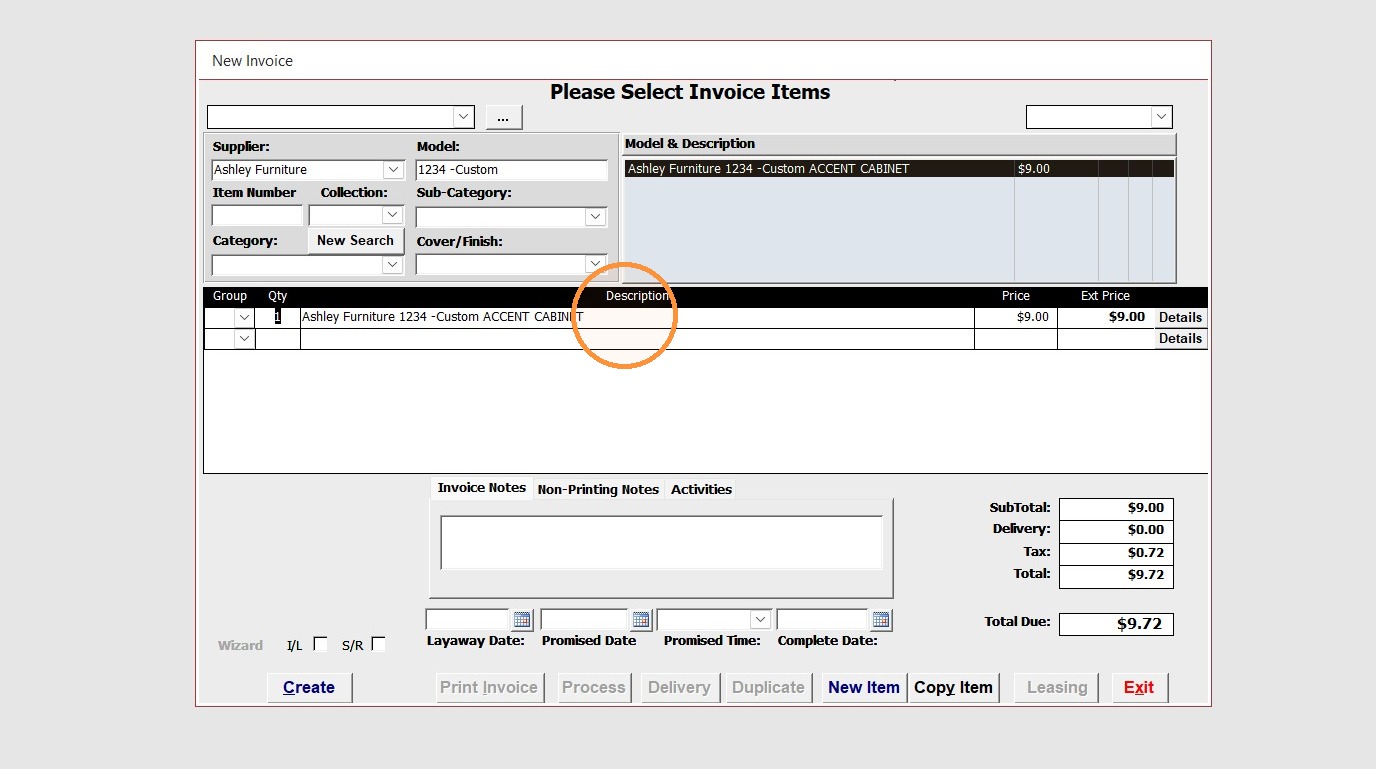
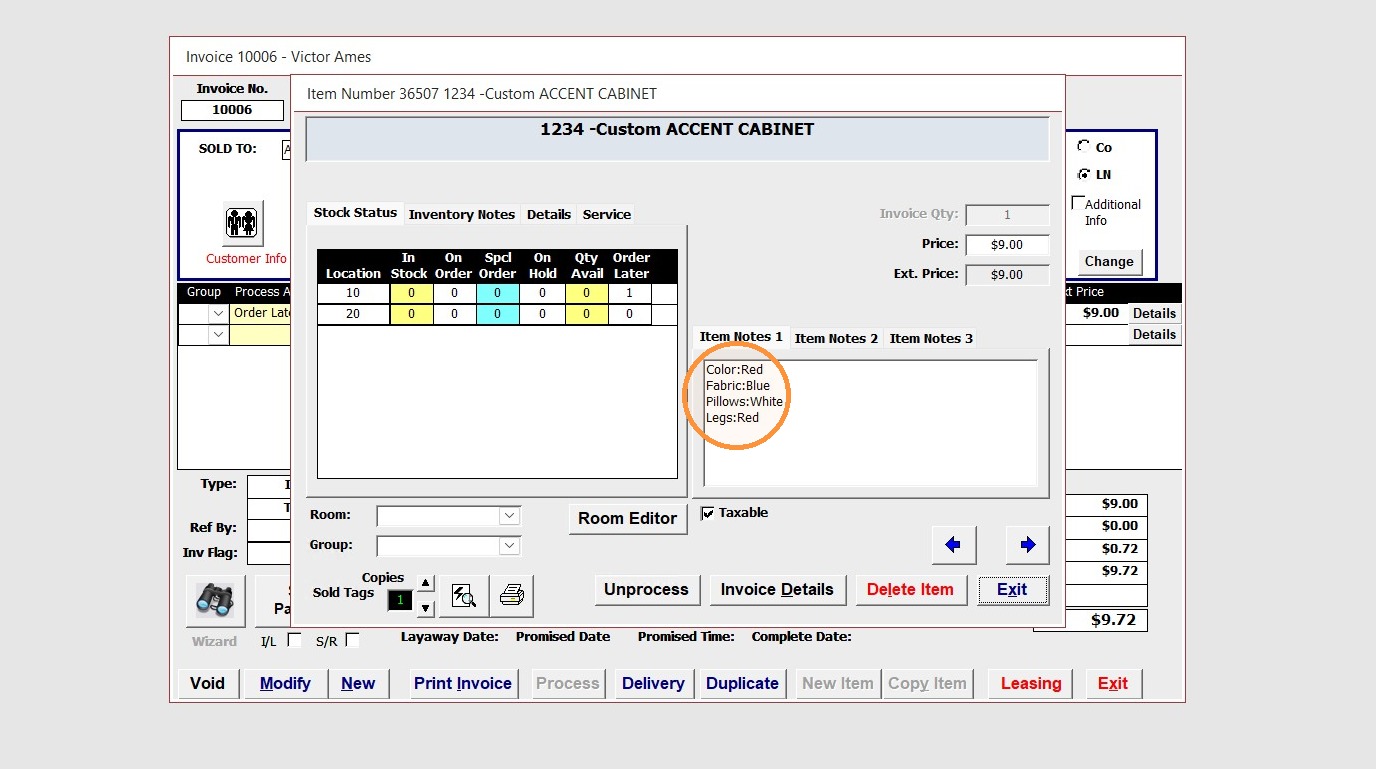
28. Enter in the appropriate custom options
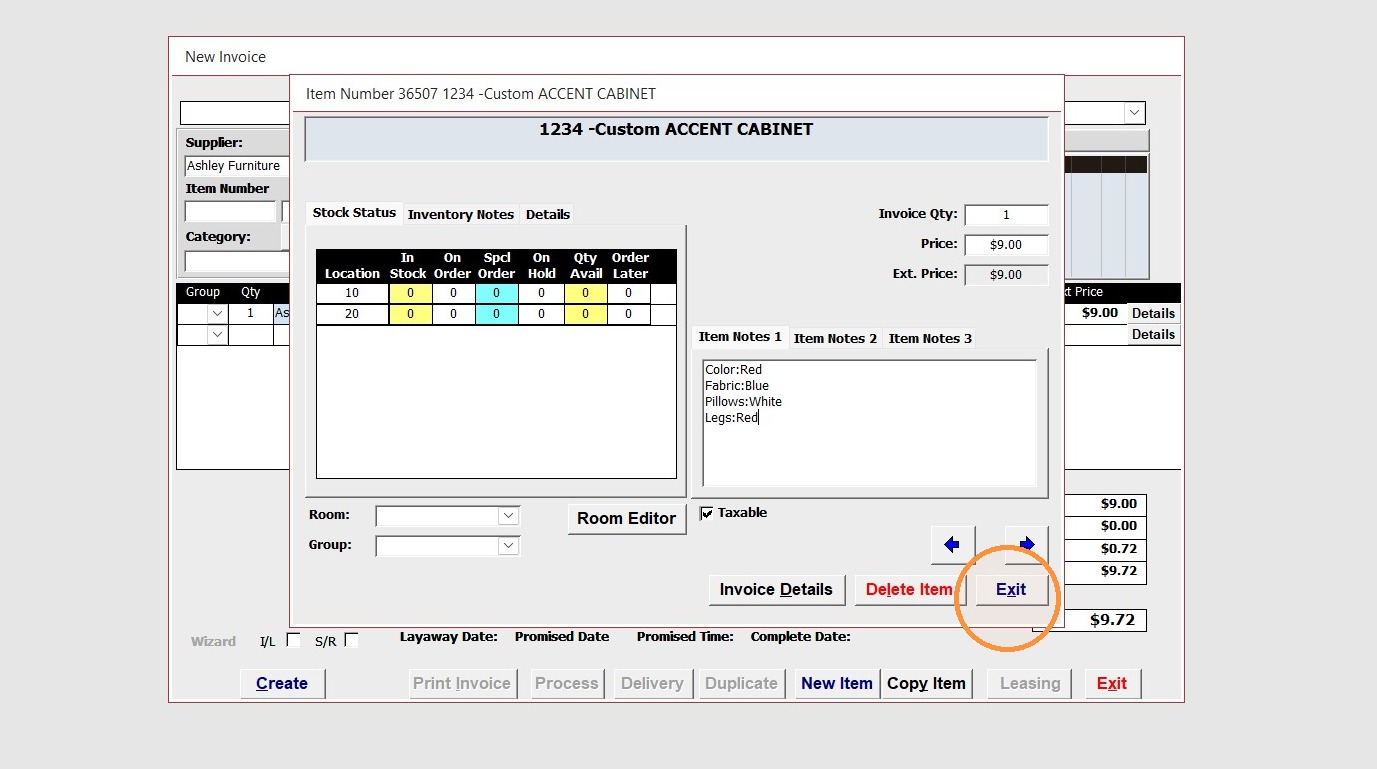
29. Click Exit when done
30. Add more items or finish the invoice process or normal
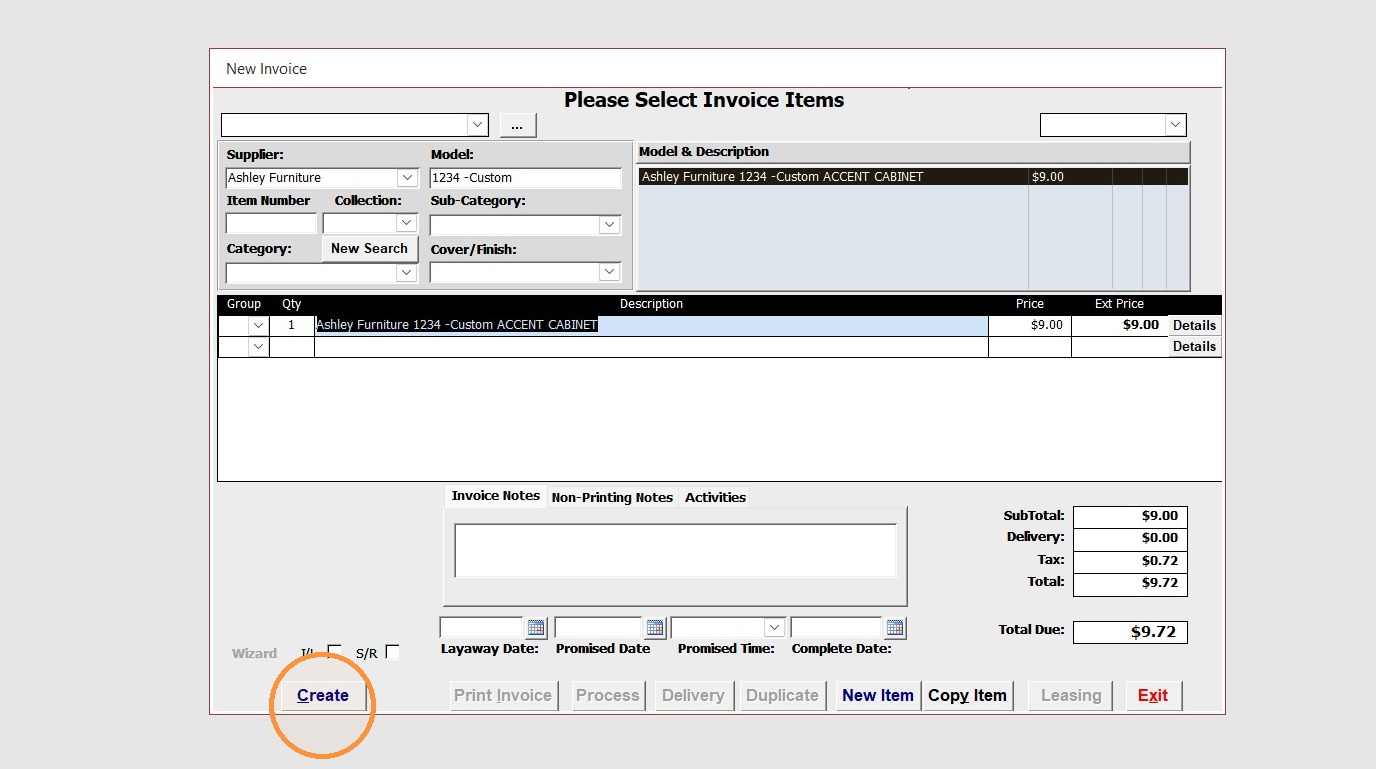
Review the item
31. Click on the item to verify custom details
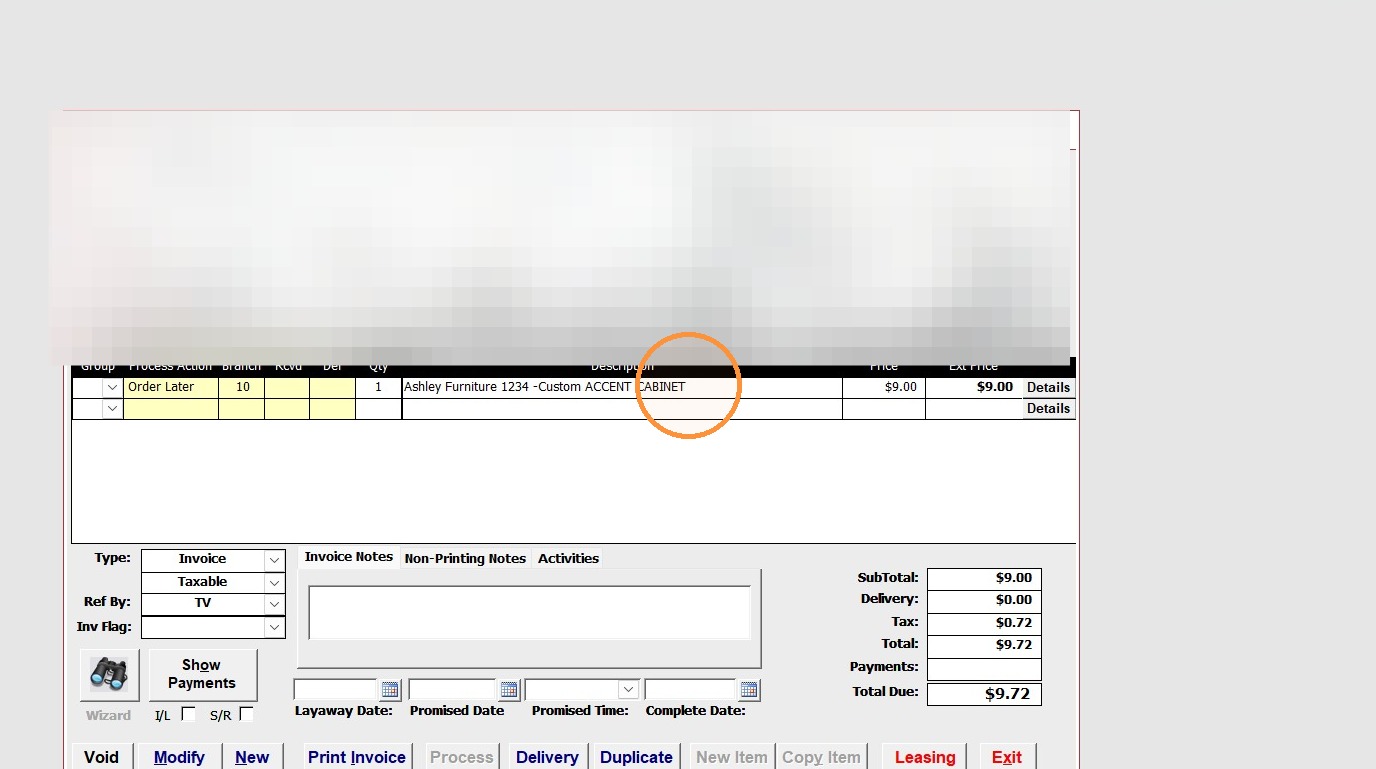
32. Click here